We were having internet problems yesterday, so I didn't get a blog post up. Not sure what was going on, and I have noticed some issues this morning as well. I sure do love my internet (like everyone else, apparently)! Anyway, I have another Peony project today!

This is another card where I colored the DSP! I used the Petal Pink, Old Olive and Daffodil Delight Blends Markers to color the flowers. It totally changes the way the DSP looks!

MY RECIPE FOR THE CARD:
STAMPS: Prized Peony, Positive Thoughts
CARDSTOCK:
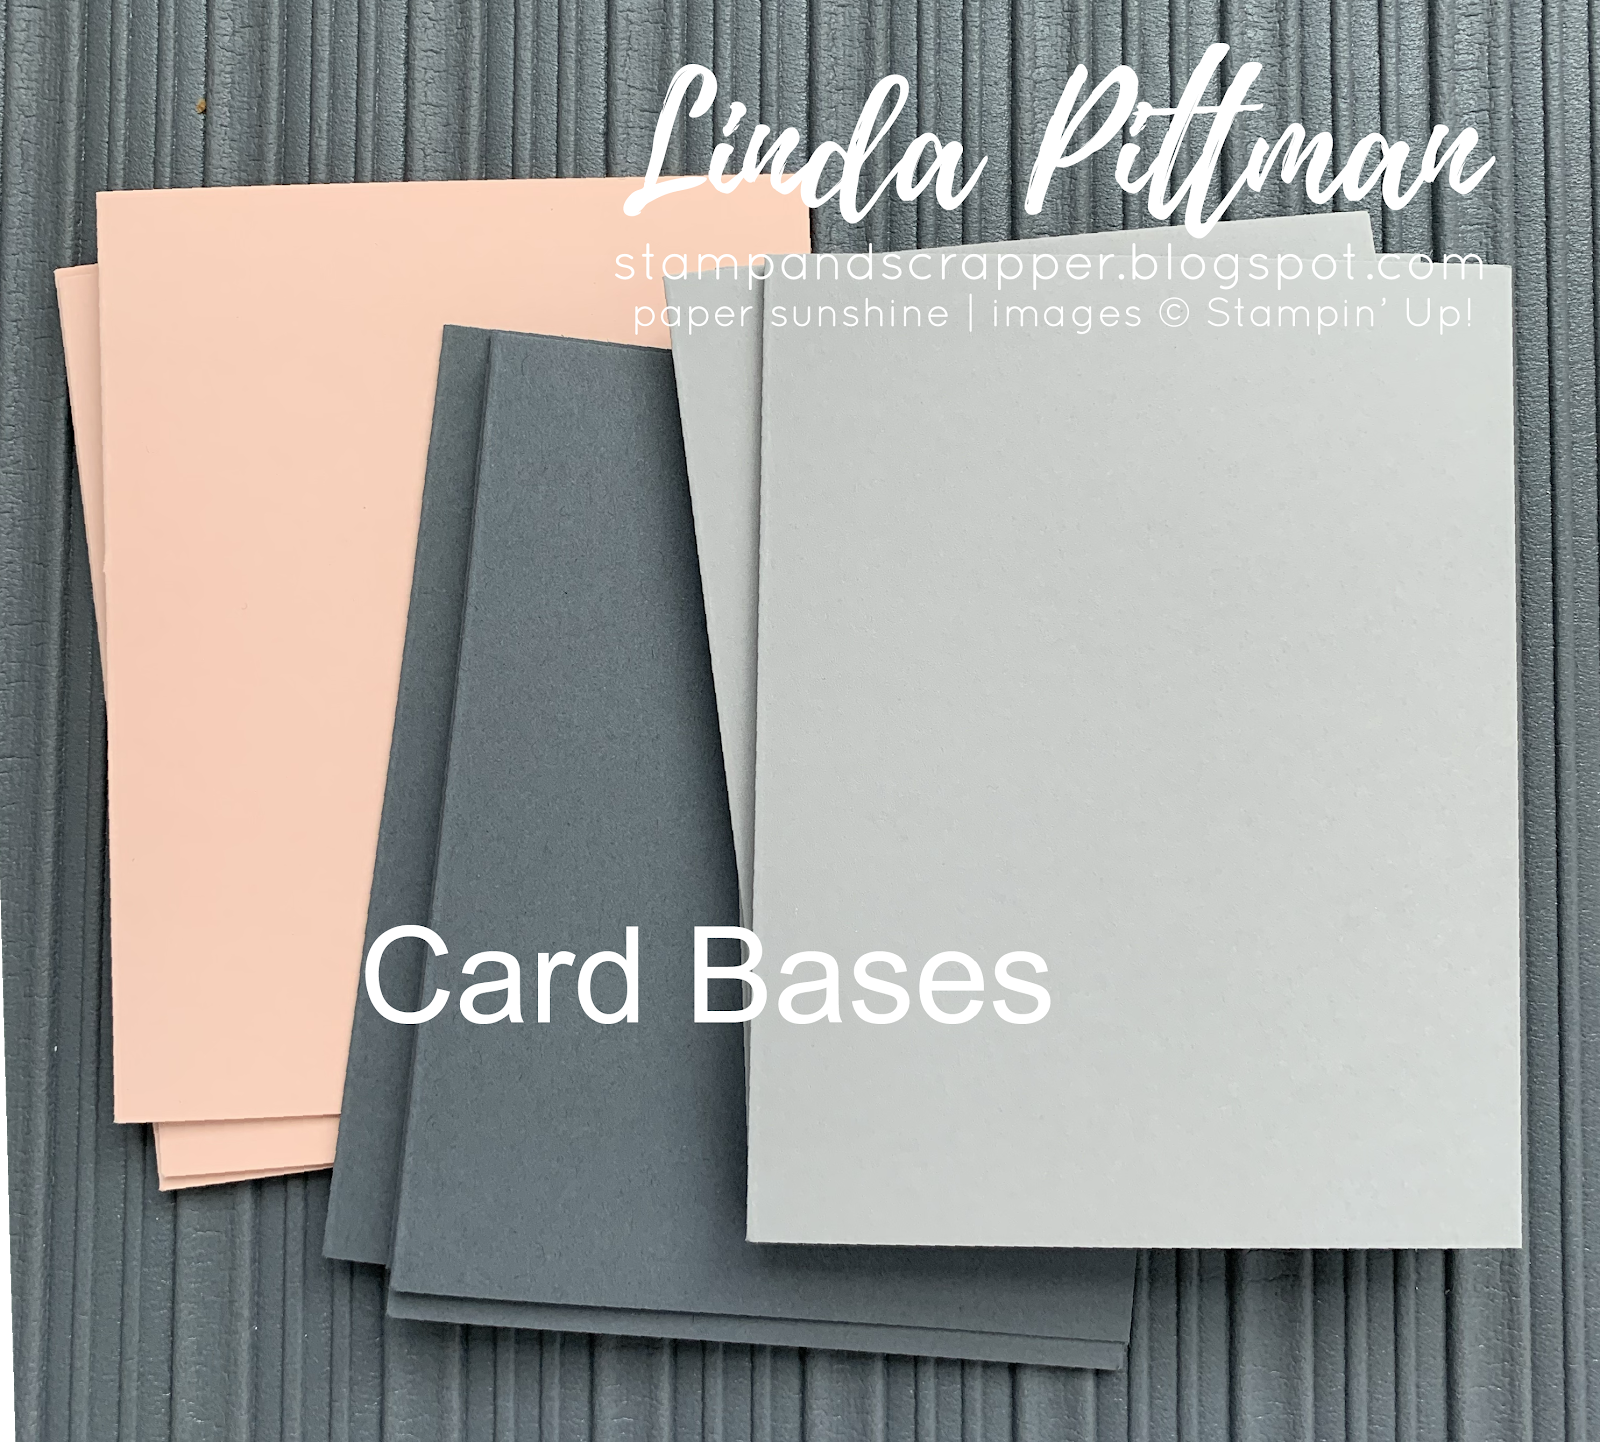
Gray Granite: 5-1/2 x 8-1/2, scored at 4-1/4
Mossy Meadow: 3-5/8 x 4-7/8
Peony Garden DSP: 3-1/2 x 3-1/2
Petal Pink: 1-1/2 x 3-1/2
SCRAPS: Whisper White, Gray Granite, Mossy Meadow, Old Olive
INSIDE:
Petal Pink: 3-3/4 x 5
Whisper White: 3-5/8 x 4-7/8
INK: Old Olive, Gray Granite
BLENDS: Petal Pink (L), Daffodil Delight (D), Old Olive (L)
ACCESSORIES: Stitched Shapes Dies, Layering Circles Dies, Ornate Layers Dies, Birthday Dies (Retired), Tasteful Textile Embossing Folder, Magnetic Platform, Big Shot, Glue Dots, Dimensionals, Rhinestones
The inside of the card looks like this:

HOW I MADE IT:
1. Use scoreboard to score card base at 4-1/4. Fold the card base at the score line and burnish the fold with a bone folder to give a sharp crease.
2. Use Gray Granite ink to stamp signature stamp on back of card base.
3. Stamp small flower on lower right corner of inside panel using Gray Granite ink. Color using markers.
4. Adhere inside panels together; adhere to inside of card base.
5. Use Blends Markers to color DSP. Adhere to top of Mossy Meadow cardstock.
6. Emboss Petal Pink cardstock using Tasteful Textile Embossing Folder and Big Shot. Adhere to bottom of Mossy Meadow cardstock.
7. Cut out stitched rectangle from scrap of Old Olive cardstock using Ornate Layers Dies and Big Shot. Adhere to seam of above panel.
8. Use Birthday Dies (retired) (or other small leaf die of your choice) to cut leaves from scraps of Mossy Meadow cardstock.
9. Stamp sentiment using Old Olive ink on scrap of Whisper White cardstock. Cut out using Stitched Shapes die and Big Shot. Cut out scalloped circle using Layering Circles Dies, Gray Granite cardstock scraps and Big Shot.
10. Adhere sentiment circle to scalloped Gray Granite die cut.
11. Lay sentiment circle on front of card base. Use Glue Dots to adhere small leaves on either side of sentiment panel.
12. Attach sentiment circle to front of card base using dimensonals.
13. Add rhinestones; see sample for placement.

Thank you for stopping by to see my latest project! I hope you love it and that you have a wonderful week!

Happy stamping,
Linda