Monday, April 27, 2020

Retired Product List Just Released!

Dear Friends,

It has taken me a while to figure out how to get this list on here.  But here it is at last!

Retirement List 2019-2020 Annual Catalog

And this link will take you to the retirement list for the January-June 2020 Catalog:

Retirement List

All of the items except the stamps are available while supplies last, some items may already be sold out.


I apologize for taking so long to get this posted (and I hope it works).  I am always learning how to do things on this "stupid" computer, and this one took a while.  Thank you for being patient!

Thanks for stopping by!

Happy stamping,
Linda


Wednesday, April 22, 2020

Another Set of Scrappy Cards!

Hi, Friends,
I made another set of cards (see April 17, 2020 post for the other set I made); they look so different from the first set that I decided to post them.  Again, I chose four papers that coordinated and cut a rectangle of 3-3/4 x 5 from each paper.  Here is my cutting diagram:


I used Classic Garage DSP (retired), Basic Gray and Basic Black cardstock to make this set of cards.  The first card:


I used the Stitched Shapes Dies and the Layering Squares Dies to cut out the sentiment, which came from a retired set called All Things Thanks.  I added a couple of Metallic Enamel Shapes (also retired) to the sentiment square.  Second card:


I used Tranquil Tide ink (retired) to stamp the sentiment.  Third card:


Fourth card:


On the inside of each card I stamped an image using the Geared Up Garage stamp set (which is still current).


I love how the card looks different, based on the DSP choices and the shape of the die cut used for the sentiment!

The Retirement List is scheduled to come out later this afternoon, so be looking for a second post later today!  

Don't forget to keep making cards and send some to brighten someone's day!

Thanks for stopping by!

Happy stamping,
Linda


Tuesday, April 21, 2020

No Matter The Weather—March Paper Pumpkin!

Hi, Friends,
I hope you are all doing great!  I love the sunny, warm weather we are having today.  I finished up some card projects today and watched my neighbors do yard work!  Unfortunately, they are making our yard look bad, but Doyle and I will just have to get motivated to work on ours.

I am not always in love with the Paper Pumpkin kits, but have found that the last several years the March kit has the very best value, so I always try to order it.  Paper Pumpkin's birthday is in March, so Stampin' Up! usually works on a kit that is extra special.  This year they gave us the usual Paper Pumpkin stamps, but also a SECOND stamp set that is fabulous.  I will be making some cards with the envelope liners from the kit and the second stamp set and will post them later.

The project I want to share with you today is from the March Paper Pumpkin.  Each of the cards started as a smaller card (about the size of the printed area on my cards).  Because I like a "normal" size card (4-1/4 x 5-1/2)  I cut the front of the card base off, matted it with cardstock and adhered it to a regular sized card base.  I also used alternate sentiments (some are non-Stampin’ Up!).  Here is the first card:


I LOVED all of the boots in this kit!  They are so perfect for spring, and I love all the bright colors.  On the inside of the card, I stamped the basket of flowers stamp that was included with the kit and colored it using Blendabilities.  


My second card looks like this:


Once again, I cut the front panel off the Paper Pumpkin card, matted it with So Saffron cardstock, and adhered it to a card base.  The boots and flowers are attached to the card front using dimensionals, and I tied a double bow using linen thread and attached it to the top of the boot using a glue dot.


The third card from the March kit looks like this:


This card is probably my favorite of the three.  I cut the front of the Paper Pumpkin card, matted it on the So Saffron, and adhered it to the Balmy Blue card base.  As with the other two cards, I stamped the basket of flowers using Memento Black ink on the inside panel and colored it using the Blendabilities.


Thanks for stopping by today.  I hope you enjoyed seeing what I did with my Paper Pumpkin kit from March.  

Happy stamping,
Linda


Friday, April 17, 2020

FUN CARDS USING SCRAPS!

Hi, Friends,
I just wanted to share with you some fun cards using scraps of your Designer Series Paper.  It is an easy way to make four different cards.  This card set uses leftover DSP from the retired Everything is Rosy product bundle.  I modified measurements I found by Jackie Bolhuis, klompenstampers.com, post dated March 27, 2020.


The individual cards:


and the inside of the cards:


Start with a card base of 5-1/2 x 8-1/2, scored at 4-1/4.  Fold and burnish with a bond folder.  The inside is Melon Mambo (3-3/4 x 5) and Whisper White (3-5/8 x 4-7/8).  I stamped a leaf image from the Everything is Rosy Stamp Set.

For the front, I cut a Melon Mambo base of 4 x 5-1/4.  Then I cut four coordinating pieces of DSP at 3-3/4 x 5.  Cut each piece of DSP as follows:
      With the 3-3/4 side at the top of the cutter, cut at 2-3/8.
      With the longer side of the bigger piece at the top of the cutter, cut at 2-7/8.
      With the longer side of the shorter piece at the top of the cutter, cut at 1-7/8.
That gives you four pieces of each of the four prints.  Lay the pieces of DSP on the Melon Mambo base, adhere them in place.  

Below is a diagram of the cutting with dimensions:

Stamp sentiments of your choice; die cut with shapes of your choice.  Attach to front of card base using dimensionals.  I added a couple of leaves cut from the Rose Gold Foil that came with the bundle (the dies I used were from the Birthday Dies).  I added a few rhinestones for good measure!  

The directions I am giving you are a bit more vague, but that is because you can use any of your printed paper with coordinating cardstock to make your own version of the cards!  I will post other cards I make with this method another day!

I hope you are all doing well; be sure to make a card and send it to a friend today!

Happy stamping,
Linda


Saturday, April 11, 2020

EASTER PROMISE EASTER CARD!

Hi, Friends,
Since it is the Saturday before Easter, I wanted to post my second Easter Card.


When I saw how well the EASTER PROMISE stamp set coordinated with the Magnolia Lane Designer Series Paper, I decided that I would make a second Easter card this year.  I really love how the two coordinate!  I "performed surgery" on my sentiment before stamping it--I used my scissors to carefully trim the second line of the sentiment away.  WARNING:  IF YOU TRY THIS AND MESS UP THE STAMP, IT IS PERMANENT AND CAN'T BE FIXED!  If you aren't brave enough to perform surgery on your stamps, you can also stick Washi Tape across the bottom of the stamp, covering the second line, ink up your stamp, remove the Washi Tape and stamp the sentiment onto the cardstock.  It is the safer option!  


I kept the inside simple, just stamped the flower image on the lower right corner and colored it like I did on the front of the card.  

MY RECIPE FOR THE CARD:

STAMPS:  Easter Promise, A Wish For Everything

CARDSTOCK:
     Crumb Cake:  5-1/2 x 8-1/2, scored at 4-1/4
     Mossy Meadow:  4 x 5-1/4
     Magnolia Lane DSP:  3-7/8 x 3-7/8
     Magnolia Lane DSP:  1-1/2 x 3-7/8
     Mossy Meadow:  2-1/2 x 3-7/8 (adjust measurement to look right behind die cut)
          SCRAPS:  Whisper White
          INSIDE:  
               Mossy Meadow:  3-3/4 x 5
               Whisper White:  3-5/8 x 4-7/8

INK:  Early Espresso

BLENDS:  Mossy Meadow (Light), Daffodil Delight (Dark), Petal Pink (Dark), Color Lifter

ACCESSORIES:  Stitched So Sweetly Dies, Magnetic Platform, Big Shot, Braided Linen Trim, Linen Thread, Dimensionals, Rhinestones

HOW I MADE IT:

1.  Use Scoreboard to score card base at 4-1/4 (on the 8-1/2 side).  Fold card base and burnish with a bone folder.

2.  Use Early Espresso ink to stamp signature stamp on back of card base.

3.  Stamp flower image using Early Espresso ink on lower right corner of inside panel.  

4.  Adhere inside panels together; adhere to inside of card base.

5.  Adhere patterned paper to Mossy Meadow cardstock.  Adhere Braided Burlap Trim to seam.  Tie Linen Thread around Braided Burlap Trim.  Adhere to front of card base.

6.  Use Early Espresso ink to stamp sentiment on scrap of Whisper White cardstock.  Cut out using Stitched So Sweetly Die and Big Shot, making sure that sentiment is at the bottom of the die cut.

7.  Stamp flowers using Early Espresso ink onto die cut.  See sample for placement.

8.  Adhere die cut to Mossy Meadow cardstock.  

9.  Attach die cut panel to card front using dimensionals.  

10.  Add rhinestones to either side of sentiment (see sample for placement).

TIPS FOR COLORING IMAGE:

Color stems and leaves using the Mossy Meadow marker.  Use the Daffodil Delight marker to color the inside of the flower.  Then add Petal Pink mostly as shading.  I then used the Color Lifter to soften the lines of the Petal Pink.  It is pretty fast and easy to do!

I hope that you have a Blessed Easter tomorrow.  It will feel strange to not be at church on Easter Sunday, but I am thankful that we can have an online service.  

If you have extra time this week, be sure to make a card to send to someone special!

Thanks for stopping by!

Happy stamping,
Linda


Thursday, April 9, 2020

Easter Message Easter Card!

Hi, Friends,
It stormed here last night.  I had a hard time sleeping; instead, I huddled under my weighted blanket and laid there wide awake!  Anyway, it has been a good day in spite of the lack of sleep!  It was a good day (1) because the sun was out; (2) because we had carryout from Southern Star last night and had enough for leftovers tonight; and (3) we splurged and got apple cake from Southern Star and had leftover for tonight!  Even better—the cake was free!  I am sure I could come up with even more reasons but I digress from the real purpose of this blog—sharing another creative project!

This card has a story behind it.  On the night before the Salvation Army Angel Tree Crop in February, Doyle came home from orchestra practice and told me that a friend had told him that she was hoping that I was going to have an Easter card on my card buffet at the crop.  (FYI, I DO take requests for projects for my card buffets!)  I did NOT have an Easter card prepped, but had one in my mind to make with a retired stamp set (Easter Message).  So I quickly put together a "first draft" and took the supplies to the crop with me to prep.  Turned out, it was a very popular choice on the card buffet.  So I made up the unused card kits while we have been "sheltering-in-place" and mailed out several to friends!

Here is the card I came up with for the card buffet:


I used the Brick and Mortar Embossing Folder to emboss the background panel.  I wanted the cross image to be the main focus of the card.    


The inside of the card is simple as well, I just stamped the sentiment!  


MY RECIPE FOR THIS CARD:  

STAMPS:  Easter Message

CARDSTOCK:
     Soft Suede:  5-1/2 x 8-1/2, scored at 4-1/4
     Crumb Cake:  4 x 5-1/4
     Daffodil Delight:  2-3/4 x 4-1/8
          SCRAPS:  Whisper White
          INSIDE:
               Daffodil Delight:  3-3/4 x 5
                 Whisper White:  3-5/8 x 4-7/8

INK:  Memento Black, Soft Suede

BLENDS:  Soft Suede, Smoky Slate (Light), Color Lifter

ACCESSORIES:  Stitched Shapes Dies, Stitched Rectangle Dies, Magnetic Platform, Big Shot, Brick and Mortar Embossing Folder, Rhinestones, Dimensionals

HOW I MADE IT:

1.  Use Scoreboard to score card base at 4-1/4.  Fold and burnish with a bone folder.

2.  Use Memento Black ink to stamp signature stamp on back of card base.

3.  Stamp sentiment on inside panel using Soft Suede ink.  Adhere inside panels together; adhere to inside of card base.

4.  Use Brick and Mortar Embossing Folder and Big Shot to emboss the Crumb Cake panel.  Adhere to front of card base.

5.  Use Memento Black ink to stamp cross image on scrap of Whisper White cardstock.  Cut out using Stitched Rectangle Die and Big Shot.  Color using markers.  (I used the Light Smoky Slate Blend to create a shadow under the fabric drape, then used the Color Lifter to go over the line to soften it.)  

6.  Adhere stamped image to Daffodil Delight cardstock.  Attach to front of card base using dimensionals.  

7.  Stamp verse using Soft Suede ink on scrap of Whisper White cardstock.  Cut out using Stitched Shapes Dies and Big Shot.  Use dimensionals to attach to front of card base.

9.  Add rhinestones (see sample for placement).

So thanks, Karen, for requesting this card!  Your request has led to a lot of people getting cards in the mail this week that hopefully made their day!  

Thanks for stopping by today!  I hope you enjoyed my card.  Bring some sunshine to someone by making them a card and dropping it in the mail today!

Happy stamping,
Linda


Tuesday, April 7, 2020

ORNATE STYLE PROJECT!

Hi, Friends,
Hope this finds you doing well.  I got some more cards ready to send out this morning, then helped Doyle with going thru some stuff in the garage.  Then I had a total meltdown.  Yup!  I suspect everybody gets at least one total meltdown during this “shelter-in-place” time.  Anyway, I am trying to put the train back on the tracks and just keep going.  So thought I would share a card with you.  The card uses the brand new Ornate Style stamp set (which will be in the new catalog that is coming soon).  You may have seen the partially finished card I posted on my Facebook Business page (Linda’s Paper Sunshine) a few days ago.  Here are my projects:


On the first card, I used a sentiment from the stamp set "Fable Friends", "glad we're friends".  I used Memento Black ink to stamp the sentiment and cut it out using one of the Stitched Rectangle Dies  and the Big Shot.  


The second version uses a "get well soon" sentiment from the "Timeless Tulips" stamp set found in the January - June mini-catalog.  I also used a Stitched Rectangle Dies and the Big Shot to cut it out.  


The third card uses the sentiment "I miss you a lot" from the stamp set "Seriously The Best" (also from the January - June Mini-Catalog).  I cut it out using a die from the All Dressed Up Dies (January - June Mini Catalog) and the Big Shot.  

I added rhinestones to either side of the sentiment on all three versions.  

Here is the inside of the card:


I used a stamp from the Ornate Style Stamp set, stamped with Memento Black ink, and colored it with Daffodil Delight and Old Olive Blends Markers.

Here is my recipe for the cards:

STAMPS:  Ornate Style, Fable Friends, Timeless Tulips, Seriously The Best

CARDSTOCK:  
     Crumb Cake:  5-1/2 x 8-1/2, scored at 4-1/4
     Daffodil Delight:  4 x 5-1/4
     Whisper White:  3-7/8 x 5-1/8
     Subtles 6 x 6 DSP:  1-1/4 x 5-1/8
          SCRAPS:  Whisper White, Old Olive
          INSIDE:  
               Daffodil Delight:  3-3/4 X 5
               Whisper White:  3-5/8 x 4-7/8

INK:  Memento Black

BLENDS:  Daffodil Delight, Old Olive, Crumb Cake

ACCESSORIES:  Rectangle Stitched Dies, All Dressed Up Dies, Subtle Embossing Folder, Magnetic Platform, Big Shot, Dimensionals, Rhinestones, Braided Burlap Trim

HOW I MADE IT:  
1.  Use Scoreboard to score card base at 4-1/4.  Fold and burnish with a bone folder.

2.  Use Memento Black ink to stamp signature stamp on back of card base.

3.  Stamp flower image using Memento Black ink on lower right corner of inside panel.  Color using markers.

4.  Adhere inside pieces together; adhere to inside of card base.

5.  Emboss the Whisper White Cardstock using the Subtle Embossing Folder and the Big Shot.  Adhere Daffodil Delight Gingham DSP to bottom of panel.  Adhere Braided Burlap Trim at the seam.

6.  Adhere panel to Daffodil Delight Cardstock; adhere to front of card base.

7.  Stamp Daisy image three times on scraps of Whisper White Cardstock using Memento Black ink. Color using markers.  Cut out using Stitched Rectangle Framelits.  Attach to front of card base using Dimensionals.  

8.  Use Memento Black ink to stamp sentiment on scrap of Old Olive Cardstock.  Cut out using Stitched Rectangle Dies and Big Shot.  Attach to card front using Dimensionals.

9.  Add rhinestones (see sample for placement).

Thanks for stopping by today.  I hope you have enjoyed my project!  If you can, go spend some time in your craft space and make a card for someone special!  (And don't forget to mail it!)

Happy stamping,
Linda


Friday, April 3, 2020

Outdoor Barbecue Birthday

Hi, Friends,

It is such a beautiful day outside today!  Doyle and I walked twice today in our neighborhood and ate dinner on the back porch tonight—the closest thing we can get to “eating out” right now.  Our son had a birthday yesterday, so I thought I would share the card I made for him with you.

He bought a new grill last summer, so I couldn't resist using this set to make his card this year.  I used a bit of retired product on this card, but you could easily make it substituting current stuff.  I used the Black Baker's Twine around the front of the card which is retired and also a Metallic Enamel Shape where the temperature gauge would be.  I also used the old trusty "spritzer" with a Black Stampin' Write marker (the one most of you hated when I used it on a Play Day project--remember?) to spritz the Smoky Slate cardstock on the front of the card to make it look smokey, and a Real Red heart from the Brights Enamel Shapes--all of those were retired!


The inside looked like this:


I stamped the images using the Memento Black ink on a Whisper White cardstock panel and didn't color them.  I thought it turned out pretty good, and my son was pleased!

Here is my recipe for this card:

 STAMPS:  Outdoor Barbecue

CARDSTOCK:
     Basic Black:  5-1/2 x 8-1/2, scored at 4-1/4
     Whisper White:  4 x 5-1/4
     Smoky Slate:  3-7/8 x 5-1/8
     SCRAPS:  Whisper White, Basic Black
     INSIDE:
          Smoky Slate:  3-3/4 x 5
          Whisper White:  3-5/8 x 4-7/8

INK:  Memento Black, Real Red

BLENDS:  Smoky Slate

ACCESSORIES:  Stitched Shapes Dies, Layering Squares Dies, Special Days Dies, Magnetic Platform, Big Shot, Black Baker's Twine (retired), Brights Enamel Shapes (retired), Metallic Enamel Shapes (retired), Stampin' Spritzer (retired), Dimensionals, Black Stampin' Write Marker

HOW I MADE IT:
1.  Use Scoreboard to score card base at 4-1/4.  Fold card base and burnish with bone folder.
2.  Use Memento Black ink to stamp hamburger, catsup, kabab and corn on the cob along the right side of the inside panel.  
3.  Adhere stamped panel to Smoky Slate Cardstock; adhere to inside of card base.
4.  Place Black Stampin' Write Marker in Stampin' Spritzer; spritz the Smoky Slate cardstock.
5.  Adhere spritzed cardstock to Whisper White Cardstock.  Wrap and tie Black Baker's Twine around the middle of the panel.  Adhere to front of card base.
6.  Stamp grill using Memento Black ink onto scrap of Whisper White Cardstock.  Cut out using Stitched Shapes Dies and Big Shot.  Color using Smoky Slate Blend Marker.
7.  Cut out scalloped square from Basic Black Cardstock using Layering Squares Dies and Big Shot. 
8.  Adhere grill square to Basic Black scalloped square.
9.  Attach grill square to front of card base using dimensionals.  Attach Metallic Enamel Shape.
10.  Use Real Red ink to stamp flame on scrap of Whisper White cardstock.  Fussy cut (use scissors to cut out) and adhere just above the grill (see sample for placement).  
11.  Stamp sentiment using Memento Black ink.  Cut out using Special Days Dies and Big Shot.  Adhere to card front just above grill square.  Add heart from Brights Enamel Shapes.

The OUTDOOR BARBECUE stamp set also has sentiments for Father's Day and a You're Invited to make invitations for a BBQ, which makes it versatile!  The stamp set is in the January - June Mini Catalog.  

Thanks for stopping by today!  I hope that you are using this time of "staying in place" to craft.  Make someone's day by making them and card and dropping it in the mail tomorrow!  

Happy stamping,
Linda

Wednesday, April 1, 2020

Bruno’s Scrappy Strip Technique CASE

Hi, Friends,
Hope you guys are all doing well today!  Yesterday was rainy, but we managed to get a walk in the neighborhood in; it was kind of short because it was cool, but was nice to get out of the house.

I have a fun project for you today!  I kept seeing these cool cards and decided to try some for myself, wound up making about twelve of them—they are addictive AND use up scraps!  You can find Bruno's projects at kyliebertucci.com, post dated March 13, 2020.  He has a video describing how he made the card.

Here is a picture of my project:


The card base is Basic Black and the colors really pop against the black!  The inside of the card looks like this:


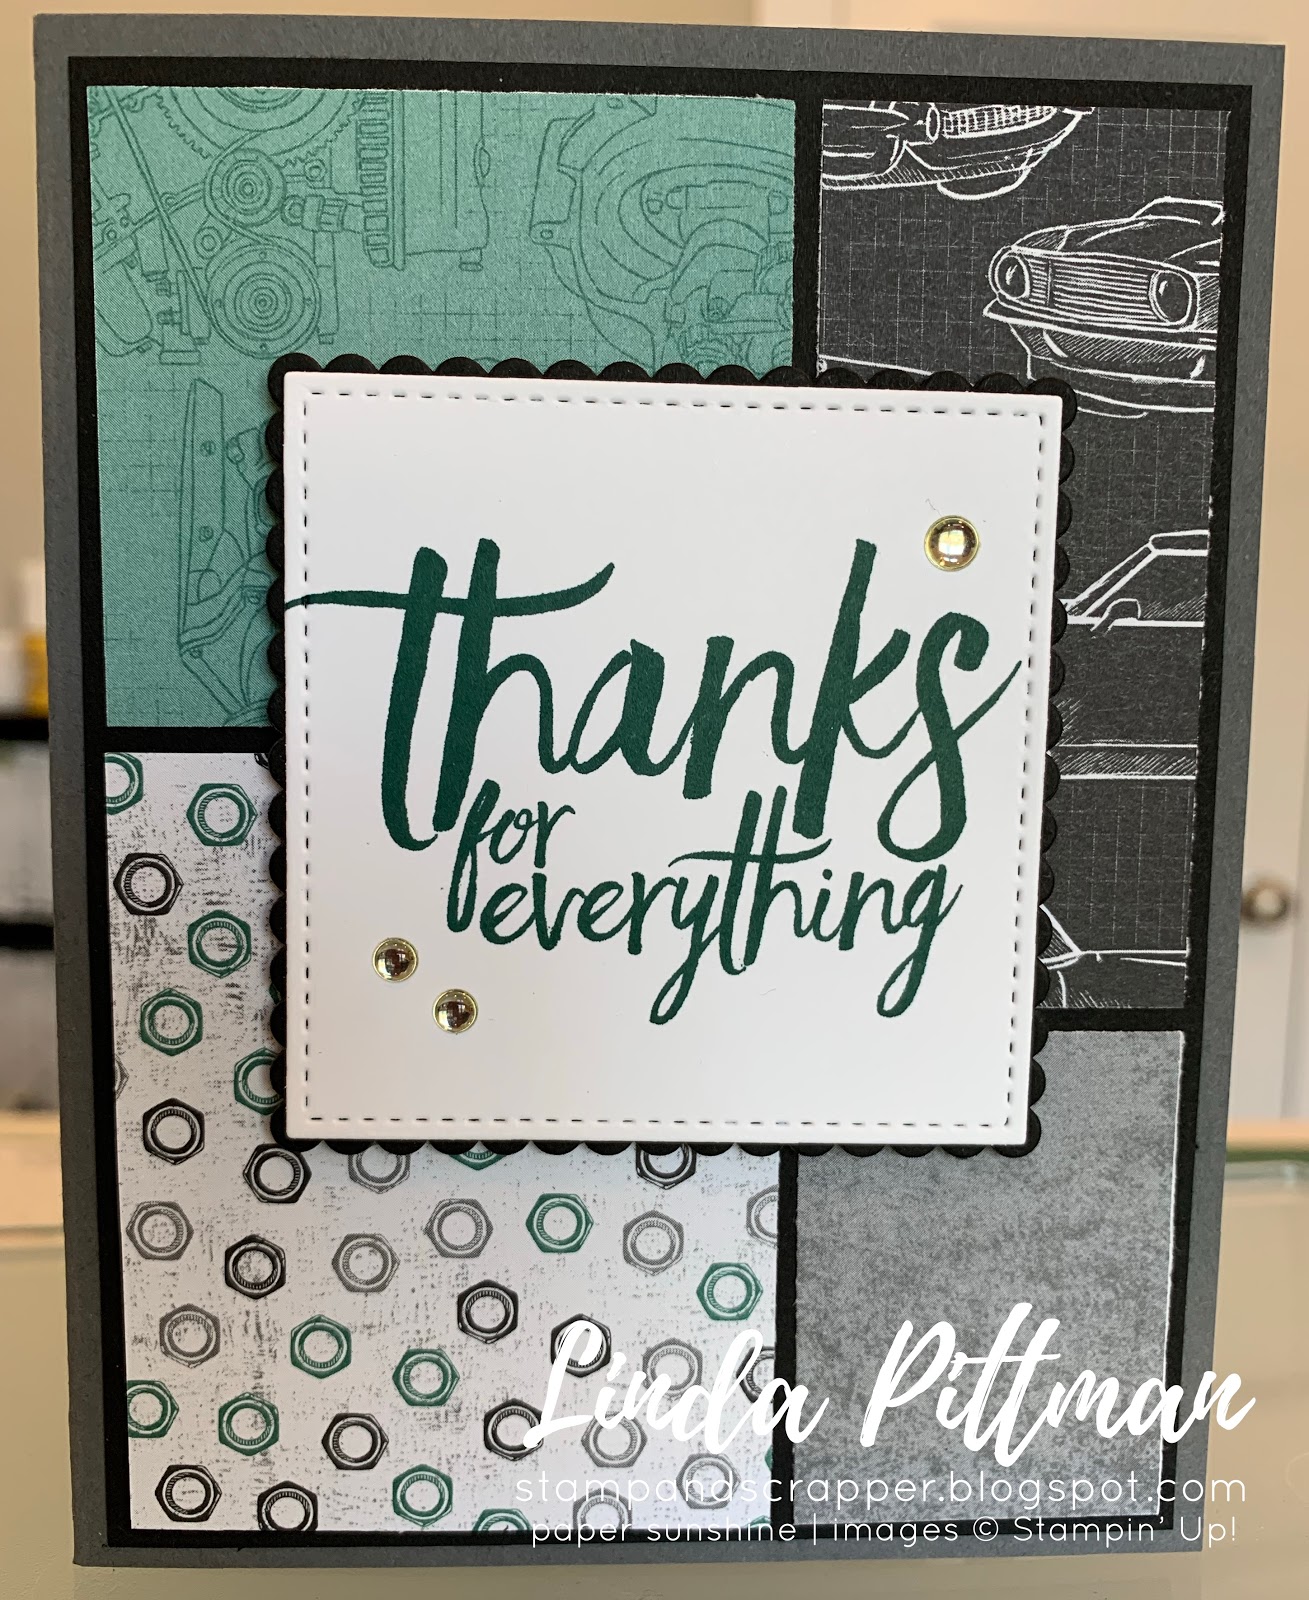
With not being able to visit friends, I am making a lot of "miss you" cards (and actually mailing them) right now.  But you could leave the sentiment out and have more of a note card.  The sentiments come from the Seriously The Best stamp set.

To make the card, you want will want to cut strips of various colors of cardstock.  Look at your scrap bin and choose several colors that you like together.  The colors I used are Pacific Point, Cajun Craze, Old Olive, Daffodil Delight, Pretty Peacock, Pumpkin Pie, Whisper White, and later I added some Mango Melody to the mix.  Cut the strips at an angle, and make them different widths for visual interest.


Next, I cut a piece of Basic Black cardstock 3-7/8 x 5-1/8 for a base.  Start on one end and adhere the strips to the base.  I left a bit of Basic Black between each strip because it looks cool.  Cover the entire base until it looks like this:


One tip is to take a piece of wax paper and place it under the base before you adhere the strips.  Any adhesive on the ends of the strips will stick to the waxed paper and it is easily removed when you are ready to cut off the ends.  I always say that I use more waxed paper crafting than I do in the kitchen!  Turn the base over and it will look like the picture below.  


Trim the edges off even with the base.  Your project should look similar to this:


Next I adhered the base to a piece of Basic Black cardstock cut to 4 x 5-1/4.  It will look like this:


I then tied Black Baker's Twine (retired) around the panel and adhered it to the front of the Basic Black card base.  I stamped the large sentiment (from Seriously the Best) using Memento Black ink and cut it out with a die from the Stitched So Sweetly Dies and the Big Shot.  I placed a piece of Basic Black cardstock 1-3/4 x 2-7/8 behind the die cut to help make it pop.  I used dimensionals to attach the sentiment to the card base, and added Designer Elements to the sentiment panel.  

I stamped the inside sentiment using Pretty Peacock ink and layered it onto Cajun Craze cardstock before adhering it to the inside of the card base.

MY RECIPE FOR THIS CARD:

STAMPS:  Seriously the Best

CARDSTOCK:
     Basic Black:  5-1/2 x 8-1/2, scored at 4-1/4
     Basic Black:  4 x 5-1/4
     Basic Black:  3-7/8 x 5-1/8
     Basic Black:  1-3/4 x 3-7/8
     SCRAPS:  Whisper White
     INSIDE:  
          Cajun Craze:  3-3/4 x 5
          Whisper White:  3-5/8 x 4-7/8

INK:  Memento Black, Pretty Peacock

ACCESSORIES:  Stitched So Sweetly Dies, Magnetic Platform, Big Shot, Designer Elements, Dimensionals, Black Baker's Twine

HOW I MADE IT:

1.  Cut card base.  Use scoreboard to score at 4-1/4; burnish using bone folder.

2.  Use Pretty Peacock ink to stamp sentiment on inside panel.  Adhere stamped panel to Cajun Craze cardstock.  Adhere to inside of card base.

3.  Make "scrap" panel as described above.  Tie Black Baker's Twine around panel.  Adhere to front of card base.

4.  Stamp sentiment using Memento Black ink on scrap of Whisper White cardstock.  Cut out using die from Stitched So Sweetly Dies.  Adhere to small strip of Basic Black Cardstock.  Attach to front of card base using Dimensionals.

5.  Add Silver Designer Elements (see sample for placement).

I hope you like my project today and that you will give it a try with some of your scraps!  Thanks for stopping by and I hope to see you soon!  I am planning another variation of this project and will post it when I get it done!

Happy stamping,
Linda