Hi, Friends,
Today, I have another project for you using the Peony Garden Suite projects. This one uses the simple technique of coloring your DSP. It is amazing how much different the DSP looks when you use your markers and color all or part of the DSP! I used this DSP and colored in the flowers and leaves with the Petal Pink Blends (light).
You can see the difference when you look at the strip of DSP at the bottom of the card:
MY RECIPE FOR THIS CARD:
STAMPS: Prized Peony
CARDSTOCK:
Crumb Cake: 5-1/2 x 8-1/2, scored at 4-1/4
Petal Pink: 4 x 5-1/4
Whisper White: 3-7/8 x 5-1/8
Peony Garden DSP: 1-1/2 x 3-7/8
SCRAPS: Crumb Cake, Whisper White
INSIDE:
Petal Pink: 3-3/4 x 5
Whisper White: 3-5/8 x 4-7/8
INK: Petal Pink, Crumb Cake
BLENDS: Petal Pink, Old Olive (L),
ACCESSORIES: Hippo and Friends Dies, Peony Dies, Magnetic Platform, Big Shot, Tasteful Textile Embossing Folder, Sponge, Dimensionals, Elegant Faceted Gems, Braided Linen Trim
HOW I MADE IT:
1. Use scoreboard to score card base at 4-1/4. Fold card base, and burnish fold using bone folder to make a sharp crease.
2. Use Crumb Cake ink to stamp signature stamp on back of card base.
3. Stamp small flower image on lower right corner of inside panel. Color using markers. Use sponge and Crumb Cake ink to lightly sponge the inside panels.
4. Adhere inside panels together; adhere to inside of card base.
5. Use Tasteful Textile Embossing Folder and Big Shot to emboss Whisper White cardstock.
6. Color the DSP images using the Petal Pink (L) blends marker.
7. Use sponge and Crumb Cake ink to lightly sponge the front of the card base, the Petal Pink cardstock, Whisper White embossed cardstock, and the colored DSP.
8. Adhere DSP (colored with markers) to the bottom of the embossed Whisper White cardstock. Adhere panel to Petal Pink cardstock. Adhere Braided Linen Trim to seam. Adhere panel to front of card base.
9. Stamp sentiment using Crumb Cake ink onto scrap of Whisper White cardstock. Cut out using Hippo and Friends Dies and Big Shot. Lightly sponge die cut using Crumb Cake ink and a sponge.
10. Use Hippo and Friends Dies and Big Shot to cut out Crumb Cake die cut. Lightly sponge die using Crumb Cake ink and sponge.
11. Adhere sentiment die cut to Crumb Cake die. Attach to front of card base using dimensionals.
12. Stamp small flower image using Crumb Cake on scrap of Whisper White cardstock. Color using markers. Cut out using Peony Dies and Big Shot. Lightly sponge using Crumb Cake ink.
13. Attach flower image to sentiment die cut using dimensionals.
14. Add Elegant Faceted Gems to sentiment die cut. See sample for placement.
I hope you are having an awesome weekend! Take some time to make someone's day by making them a special card and mailing it to them!
Happy stamping,
Linda
Showing posts with label Elegant Faceted Gems. Show all posts
Sunday, August 23, 2020
Wednesday, August 19, 2020
PEACEFUL MOMENTS PRIZED PEONY
Hi, Friends,
I really meant to have this post up several days ago, and I got busy and distracted and didn't get it done. Anyway, here is my card, even if it is late!
If you follow my blog, you will remember I used this layout with the Ornate Style cards, and the die for the side die cut is from the Ornate Layers dies. But this flower just seemed to fit so well with this layout that I had to use it. And I really LOVE the way this turned out!
RECIPE FOR THE CARD:
STAMPS: Prized Peony, Peaceful Moments
CARDSTOCK:
Gray Granite: 4-1/5 x 11, scored at 5-1/2
Gray Granite: 4-1/8 x 5-3/8
Basic Gray: 4 x 4
Whisper White: 3-7/8 x 3-7/8
SCRAPS: Whisper White, Gray Granite, Basic Gray
INSIDE:
Basic Gray: 3-3/4 x 5
Whisper White: 3-5/8 x 4-7/8
INK: Gray Granite, Basic Gray
BLENDS: Petal Pink, Old Olive (L), Daffodil Delight (D)
ACCESSORIES: Peony Dies, Ornate Layers Dies, Magnetic Platform, Subtles Embossing Folder, Elegant Faceted Gems, Dimensionals
HOW I MADE IT:
1. Using scoreboard, score card base at 5-1/2. Fold card base and burnish with bone folder to make a sharp crease.
2. Use Gray Granite ink to stamp signature stamp on back of card base.
3. Stamp small flower on lower right corner of inside panel using Gray Granite ink. Color using markers.
4. Adhere inside panels together; adhere to inside of card base.
5. Emboss Gray Granite cardstock using Subtles Embossing Folder and Big Shot. Adhere to front of card base.
6. Use Gray Granite ink to stamp sentiment on lower right corner of front panel. Stamp background decorative stamp using Gray Granite ink three times on front panel. See sample for placement.
7. Adhere stamped panel to Basic Gray cardstock. Adhere to front of card base.
8. Use Ornate Layers Dies and Big Shot to die cut Gray Granite cardstock and Basic Gray cardstock panels. Adhere the "ornate" Gray Granite layer to the Basic Gray layer. Adhere to front of card base.
9. Stamp large flower on scrap of Whisper White cardstock using Gray Granite ink. Color using markers. Cut out using Peony Dies and Big Shot. Adhere to front of card base using dimensionals.
10. Add Elegant Faceted Gems. See sample for placement.
The inside of the card looks like this:
I like to decorate the inside of the card and stamp and color something on it.
I hope you enjoyed this project; it took me several days to get this posted--Doyle and I have been doing some small projects around the house and I have been distracted! Hopefully I will have another project to share with you soon. I have two more Peony cards completed and will be sharing those soon!
Take some time to do something creative today!
Happy stamping,
Linda
I really meant to have this post up several days ago, and I got busy and distracted and didn't get it done. Anyway, here is my card, even if it is late!
If you follow my blog, you will remember I used this layout with the Ornate Style cards, and the die for the side die cut is from the Ornate Layers dies. But this flower just seemed to fit so well with this layout that I had to use it. And I really LOVE the way this turned out!
RECIPE FOR THE CARD:
STAMPS: Prized Peony, Peaceful Moments
CARDSTOCK:
Gray Granite: 4-1/5 x 11, scored at 5-1/2
Gray Granite: 4-1/8 x 5-3/8
Basic Gray: 4 x 4
Whisper White: 3-7/8 x 3-7/8
SCRAPS: Whisper White, Gray Granite, Basic Gray
INSIDE:
Basic Gray: 3-3/4 x 5
Whisper White: 3-5/8 x 4-7/8
INK: Gray Granite, Basic Gray
BLENDS: Petal Pink, Old Olive (L), Daffodil Delight (D)
ACCESSORIES: Peony Dies, Ornate Layers Dies, Magnetic Platform, Subtles Embossing Folder, Elegant Faceted Gems, Dimensionals
HOW I MADE IT:
1. Using scoreboard, score card base at 5-1/2. Fold card base and burnish with bone folder to make a sharp crease.
2. Use Gray Granite ink to stamp signature stamp on back of card base.
3. Stamp small flower on lower right corner of inside panel using Gray Granite ink. Color using markers.
4. Adhere inside panels together; adhere to inside of card base.
5. Emboss Gray Granite cardstock using Subtles Embossing Folder and Big Shot. Adhere to front of card base.
6. Use Gray Granite ink to stamp sentiment on lower right corner of front panel. Stamp background decorative stamp using Gray Granite ink three times on front panel. See sample for placement.
7. Adhere stamped panel to Basic Gray cardstock. Adhere to front of card base.
8. Use Ornate Layers Dies and Big Shot to die cut Gray Granite cardstock and Basic Gray cardstock panels. Adhere the "ornate" Gray Granite layer to the Basic Gray layer. Adhere to front of card base.
9. Stamp large flower on scrap of Whisper White cardstock using Gray Granite ink. Color using markers. Cut out using Peony Dies and Big Shot. Adhere to front of card base using dimensionals.
10. Add Elegant Faceted Gems. See sample for placement.
The inside of the card looks like this:
I like to decorate the inside of the card and stamp and color something on it.
I hope you enjoyed this project; it took me several days to get this posted--Doyle and I have been doing some small projects around the house and I have been distracted! Hopefully I will have another project to share with you soon. I have two more Peony cards completed and will be sharing those soon!
Take some time to do something creative today!
Happy stamping,
Linda
Monday, August 10, 2020
ITTY BITTY GREETINGS PETAL PINK PRIZED PEONY!
Hi, Friends,
Hope you are having a wonderful Monday! It is cloudy here and we had a few drops of rain.
Today I am sharing with you Project Three from the Peony Garden Suite Sampler:
This image is easy to color. I colored the leaves with the Old Olive (Light) marker, then added the Petal Pink (Dark) to the bottom of the petals. I colored in the rest of the flower with the Petal Pink (Light) and left a bit of white showing. I "painted" the flower with the Wink of Stella after it was colored in.
HOW I MADE IT:
1. Use scoreboard to score the card base at 4-1/4. Fold the card base at the fold line, then use a bone folder to burnish the fold, making a sharp crease.
2. Use Gray Granite ink to stamp the signature stamp on the back of the card base.
3. Stamp the decorative background image on the lower right corner of the inside panel using Gray Granite ink.
4. Adhere the inside panels together; adhere to inside of card base.
5. Emboss the long rectangle of Whisper White cardstock, using the Dainty Diamonds Embossing Folder and the Big Shot.
6. Adhere the Designer Series Paper to the left side of the Petal Pink cardstock. Adhere the embossed Whisper White cardstock on the right side of the Petal Pink cardstock. Adhere the Gray Granite Shimmer Ribbon at the seam. Adhere panel to front of card base.
7. Use Gray Granite ink to stamp the sentiment on the lower right corner of the Whisper White cardstock. Adhere the stamped panel to the Gray Granite cardstock. Attach panel to the front of card base using dimensionals.
8. Stamp flower image using Gray Granite ink onto a scrap of Whisper White cardstock. Color using markers. Cut out using die and Big Shot. Attach die cut flower image to front of card base using dimensionals. "Paint" the flower image with clear Wink of Stella.
9. Add Elegant Faceted Gems to each side of the stamped sentiment. See sample for placement.
I hope you enjoyed this project and that it inspires you to create something beautiful and send it to someone special!
Happy stamping,
Linda
Hope you are having a wonderful Monday! It is cloudy here and we had a few drops of rain.
Today I am sharing with you Project Three from the Peony Garden Suite Sampler:
This is a beautiful card in person, prettier than the picture. Since I found my Wink of Stella, I am painting everything with it, and this flower is no different! It is SO shimmery and shines when the light hits it!
MY RECIPE:
STAMPS: Prized Peony, Itty Bitty Greetings
CARDSTOCK:
Gray Granite: 5-1/2 x 8-1/2, scored at 4-1/4
Petal Pink: 4 x 5-1/4
Peony Garden DSP: 2-1/2 x 5-1/8
Whisper White: 1-1/2 x 5-1/8
Gray Granite: 2-7/8 x 3-7/8
Whisper White: 2-3/4 x 3-3/4
SCRAPS: Whisper White
INSIDE:
Petal Pink: 3-3/4 x 5
Whisper White: 3-5/8 x 4-7/8
INK: Gray Granite
BLENDS: Petal Pink, Old Olive (L), Daffodil Delight (D)
ACCESSORIES: Peony Dies, Magnetic Platform, Big Shot, Dainty Diamonds Embossing Folder, Gray Granite Shimmer Ribbon, Elegant Faceted Gems, Dimensionals, Wink of Stella
HOW I MADE IT:
1. Use scoreboard to score the card base at 4-1/4. Fold the card base at the fold line, then use a bone folder to burnish the fold, making a sharp crease.
2. Use Gray Granite ink to stamp the signature stamp on the back of the card base.
3. Stamp the decorative background image on the lower right corner of the inside panel using Gray Granite ink.
4. Adhere the inside panels together; adhere to inside of card base.
5. Emboss the long rectangle of Whisper White cardstock, using the Dainty Diamonds Embossing Folder and the Big Shot.
6. Adhere the Designer Series Paper to the left side of the Petal Pink cardstock. Adhere the embossed Whisper White cardstock on the right side of the Petal Pink cardstock. Adhere the Gray Granite Shimmer Ribbon at the seam. Adhere panel to front of card base.
7. Use Gray Granite ink to stamp the sentiment on the lower right corner of the Whisper White cardstock. Adhere the stamped panel to the Gray Granite cardstock. Attach panel to the front of card base using dimensionals.
8. Stamp flower image using Gray Granite ink onto a scrap of Whisper White cardstock. Color using markers. Cut out using die and Big Shot. Attach die cut flower image to front of card base using dimensionals. "Paint" the flower image with clear Wink of Stella.
9. Add Elegant Faceted Gems to each side of the stamped sentiment. See sample for placement.
I hope you enjoyed this project and that it inspires you to create something beautiful and send it to someone special!
Happy stamping,
Linda
Wednesday, August 5, 2020
PEONY GARDEN SUITE SAMPLER!
Hi, Friends,
I am trying to get a post written, but Blogger is being a bit frustrating today. They are trying to make me try a new "interface", which means all the things I am familiar with have disappeared. It took a while, but I finally found a button that said "revert to old interface" and I said YES! In the meantime, though, I figured out how to get my emails updated on my laptop--it has been several years since they were up-to-date--and I really don't know how I did it; also got my pictures to sync with my other devices--don't know how I did that, either! The other thing I discovered was that I can add text on top of my pictures. So I learned a lot, even if I was frustrated with Blogger!
Anyway, I wanted to share pictures of the product you will be getting with your Peony Garden Suite Sampler this month, so here goes!
The Peony Garden Designer Series Paper is absolutely fabulous!
The colors used in the DSP are Gray Granite, Basic Gray, Petal Pink, and Whisper White.
The Peony Garden Suite includes a stamp set, Prized Peony, and coordinating Die set, Peony Dies:
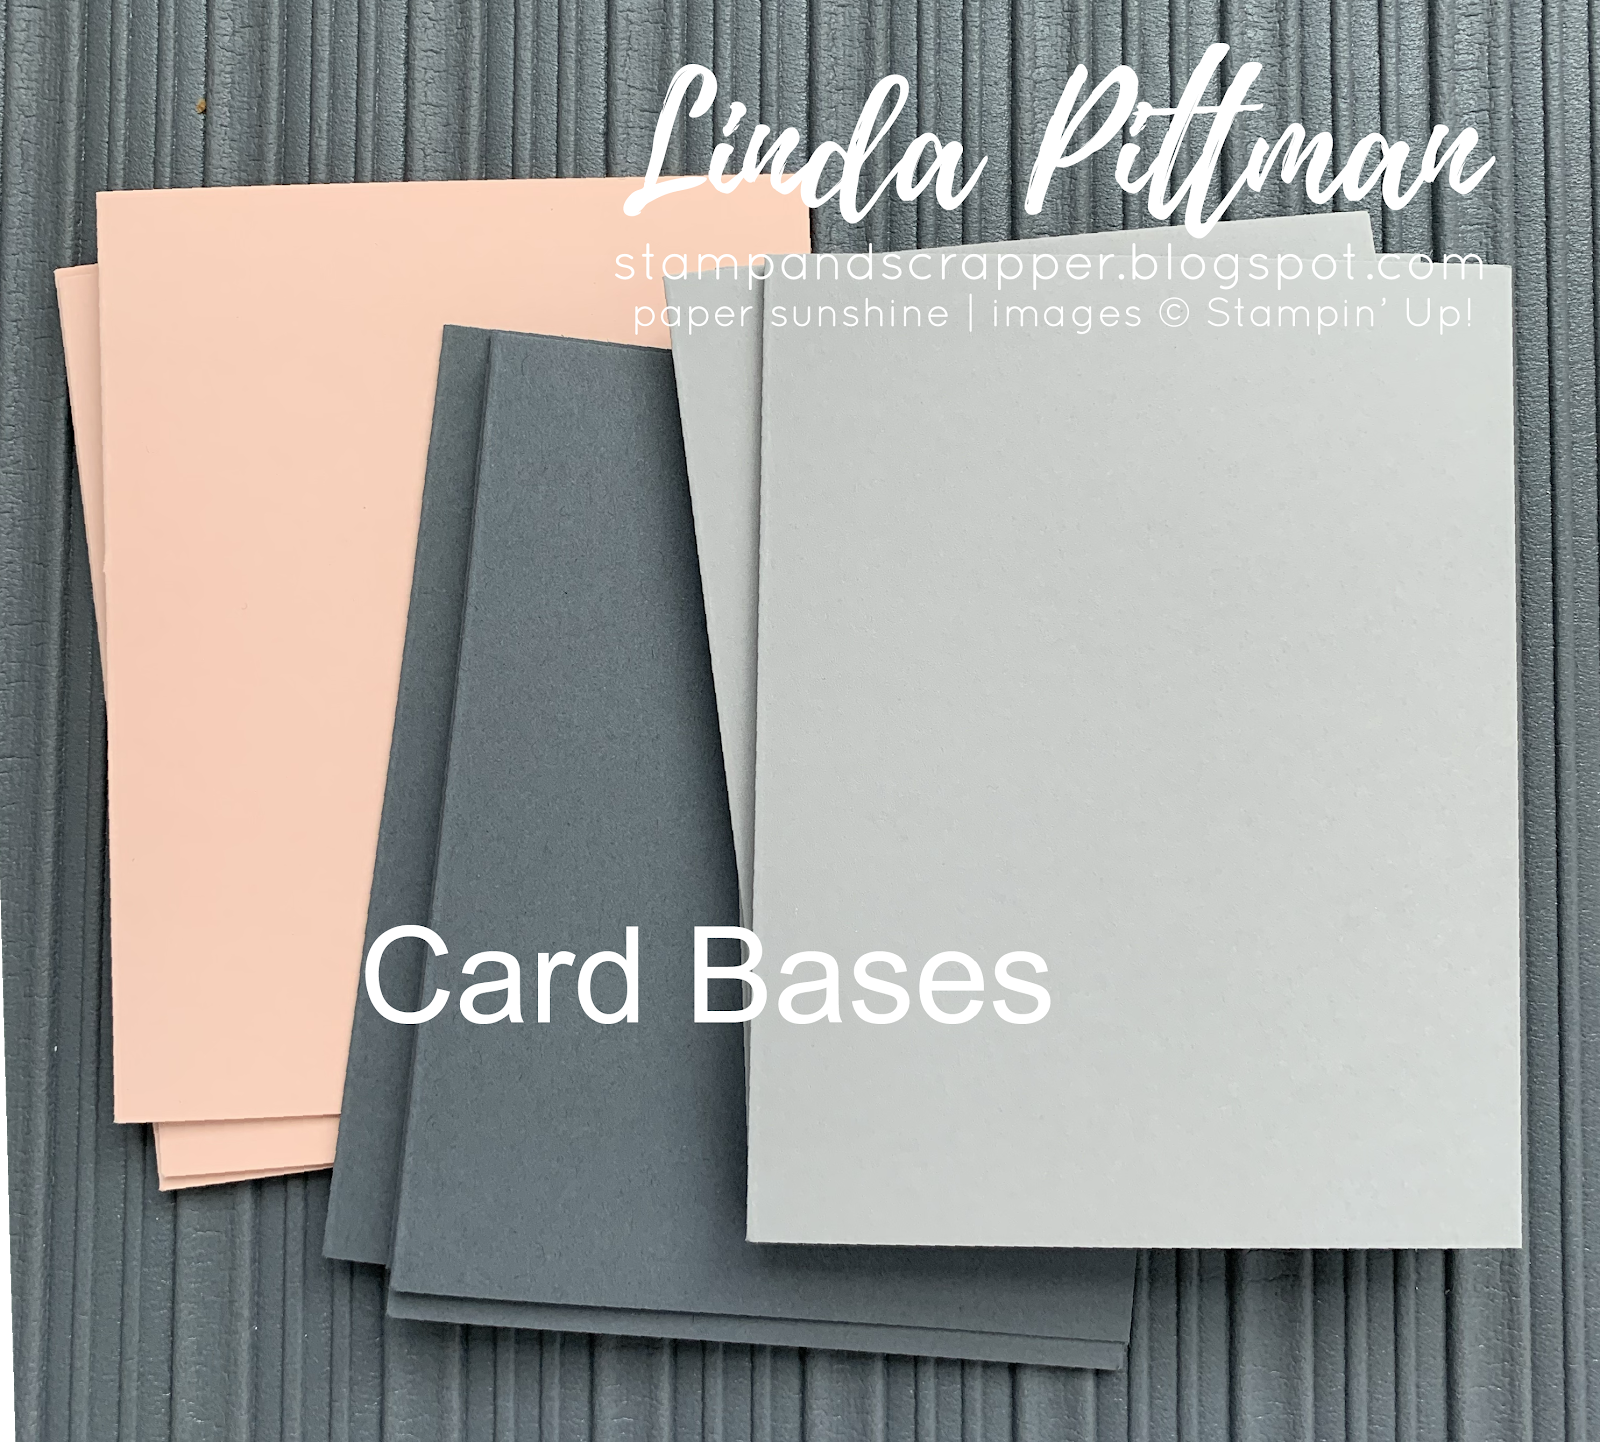
Twelve card bases are included with the Suite Sampler:
You will get four each of Petal Pink, Basic Gray, and Gray Granite.
Also included are twelve pieces of 4-1/4 x 5-1/2 cardstock in the same colors.
I have also embossed several pieces of cardstock with the Dainty Diamonds 3D Embossing Folder:
You will also get Vellum Doilies, Elegant Faceted Gems, and two yards of Gray Granite Shimmer Ribbon (the ribbon isn't in the picture).
I didn't take a picture, but you will also get a Swatch Book with samples of all of the papers included with the Peony Garden DSP. On the back of the Swatch Book it has the coordinating colors and the name of the DSP.
If you are interested in getting the Peony Garden Suite Sampler, please contact me. I will be taking reservations until August 15, then get them to you within a week (August 22).
I have three card projects using the Peony Garden Suite products finished, and will take photographs and get them blogged soon. Hopefully, the Revert button will still be here tomorrow!
Happy stamping,
Linda
I am trying to get a post written, but Blogger is being a bit frustrating today. They are trying to make me try a new "interface", which means all the things I am familiar with have disappeared. It took a while, but I finally found a button that said "revert to old interface" and I said YES! In the meantime, though, I figured out how to get my emails updated on my laptop--it has been several years since they were up-to-date--and I really don't know how I did it; also got my pictures to sync with my other devices--don't know how I did that, either! The other thing I discovered was that I can add text on top of my pictures. So I learned a lot, even if I was frustrated with Blogger!
Anyway, I wanted to share pictures of the product you will be getting with your Peony Garden Suite Sampler this month, so here goes!
The Peony Garden Designer Series Paper is absolutely fabulous!
The colors used in the DSP are Gray Granite, Basic Gray, Petal Pink, and Whisper White.
The Peony Garden Suite includes a stamp set, Prized Peony, and coordinating Die set, Peony Dies:
Twelve card bases are included with the Suite Sampler:
You will get four each of Petal Pink, Basic Gray, and Gray Granite.
Also included are twelve pieces of 4-1/4 x 5-1/2 cardstock in the same colors.
I have also embossed several pieces of cardstock with the Dainty Diamonds 3D Embossing Folder:
You will also get Vellum Doilies, Elegant Faceted Gems, and two yards of Gray Granite Shimmer Ribbon (the ribbon isn't in the picture).
If you are interested in getting the Peony Garden Suite Sampler, please contact me. I will be taking reservations until August 15, then get them to you within a week (August 22).
I have three card projects using the Peony Garden Suite products finished, and will take photographs and get them blogged soon. Hopefully, the Revert button will still be here tomorrow!
Happy stamping,
Linda
Subscribe to:
Posts (Atom)