Hi, Friends,
It is a beautiful day out today—lots of sunshine—my favorite kind of day!
Just wanted to share a picture of our cute foster kittens with you before I share a project with you. Their names are Chloe and Zoe; they are full of love and energy!


These pictures show them sometime during the afternoon; they wear themselves out during the morning getting into whatever mischief they can find!
Anyway, today I am sharing a card using a Sale-a-bration set. Only a couple of more days and you won’t be able to get this set any longer (September 30 is the last day). This set is called Delicate Dahlias, and needs a $100 purchase to get it. It reminds me of the dahlia fields near my aunt’s house in Oregon!

MY RECIPE:
STAMPS: Delicate Dahlias (Sale-a-ration, Fall 2021)
CARDSTOCK:
Crumb Cake: 5-1/2 x 8-1/2, scored at 4-1/4
Regals DSP (retired): 4 x 5-1/4
Early Espresso: 3-1/8 x 4-3/8
Very Vanilla: 3 x 4-1/4
SCRAPS: Crumb Cake
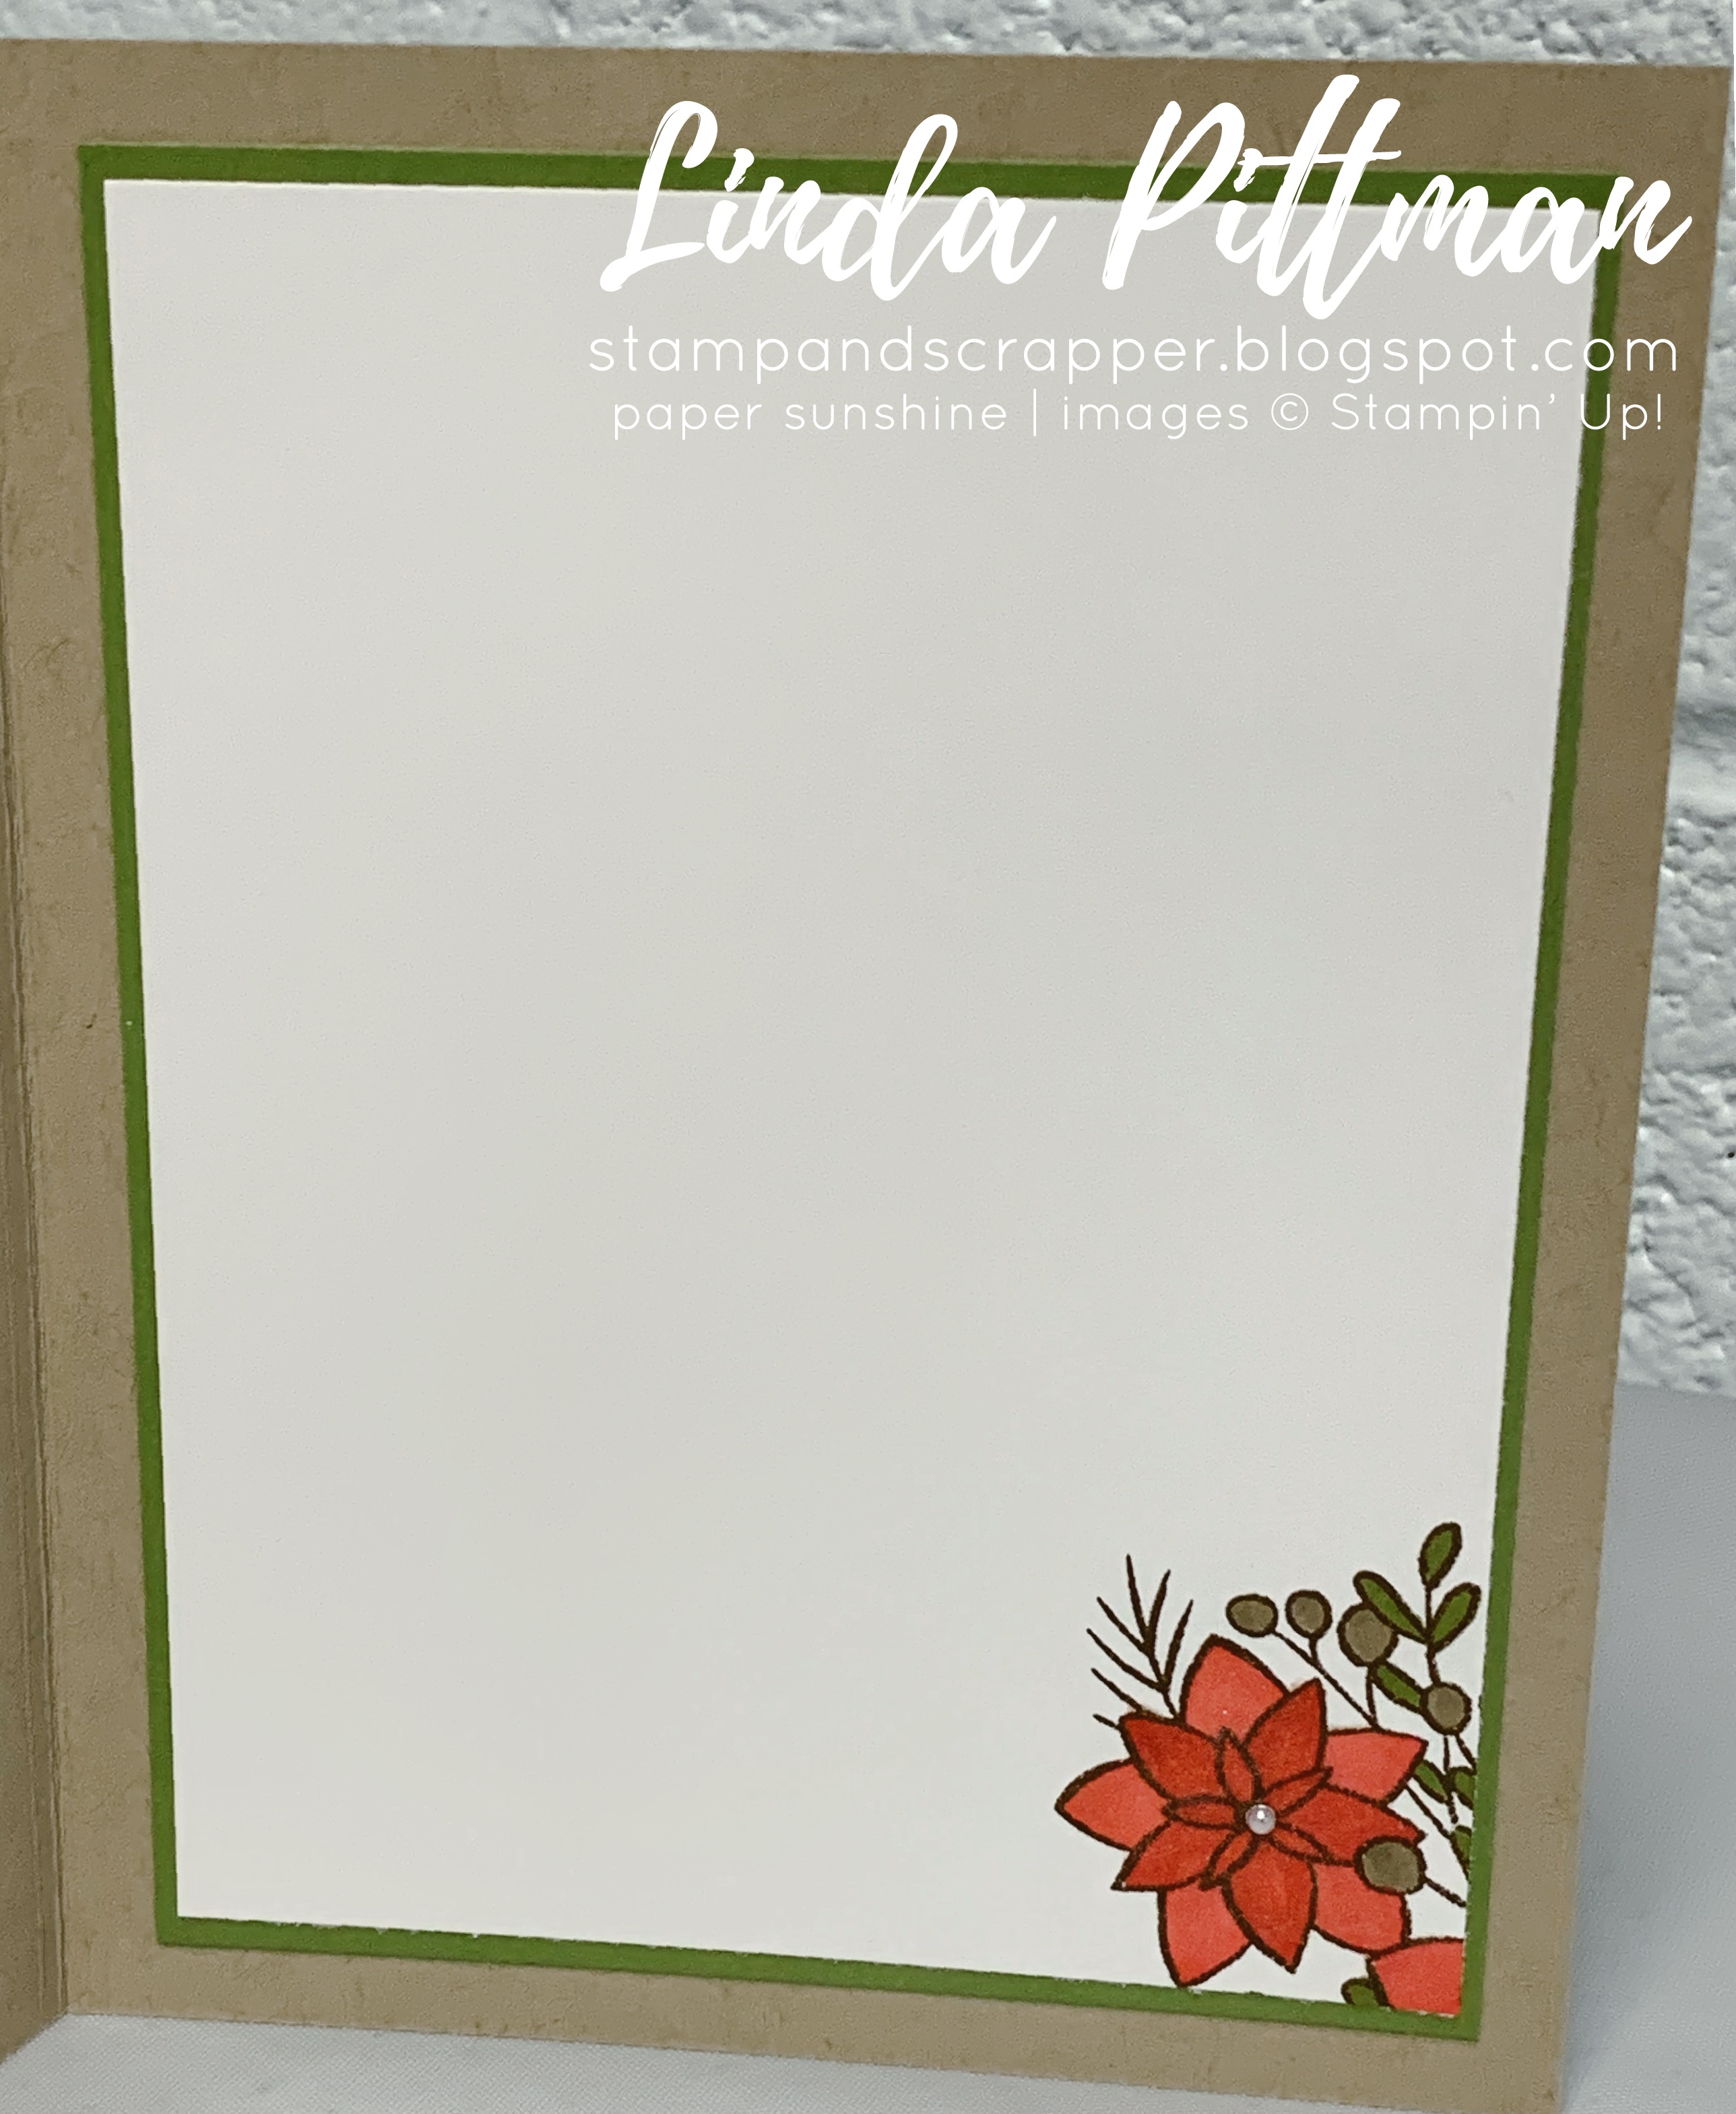
INSIDE:
Early Espresso: 3-3/4 x 5
Very Vanilla: 3-5/8 x 4-7/8
INK: Early Espresso, Cajun Craze
ACCESSORIES: Stitched Rectangle Dies, Linen Thread, Rhinestones, Dimensionals
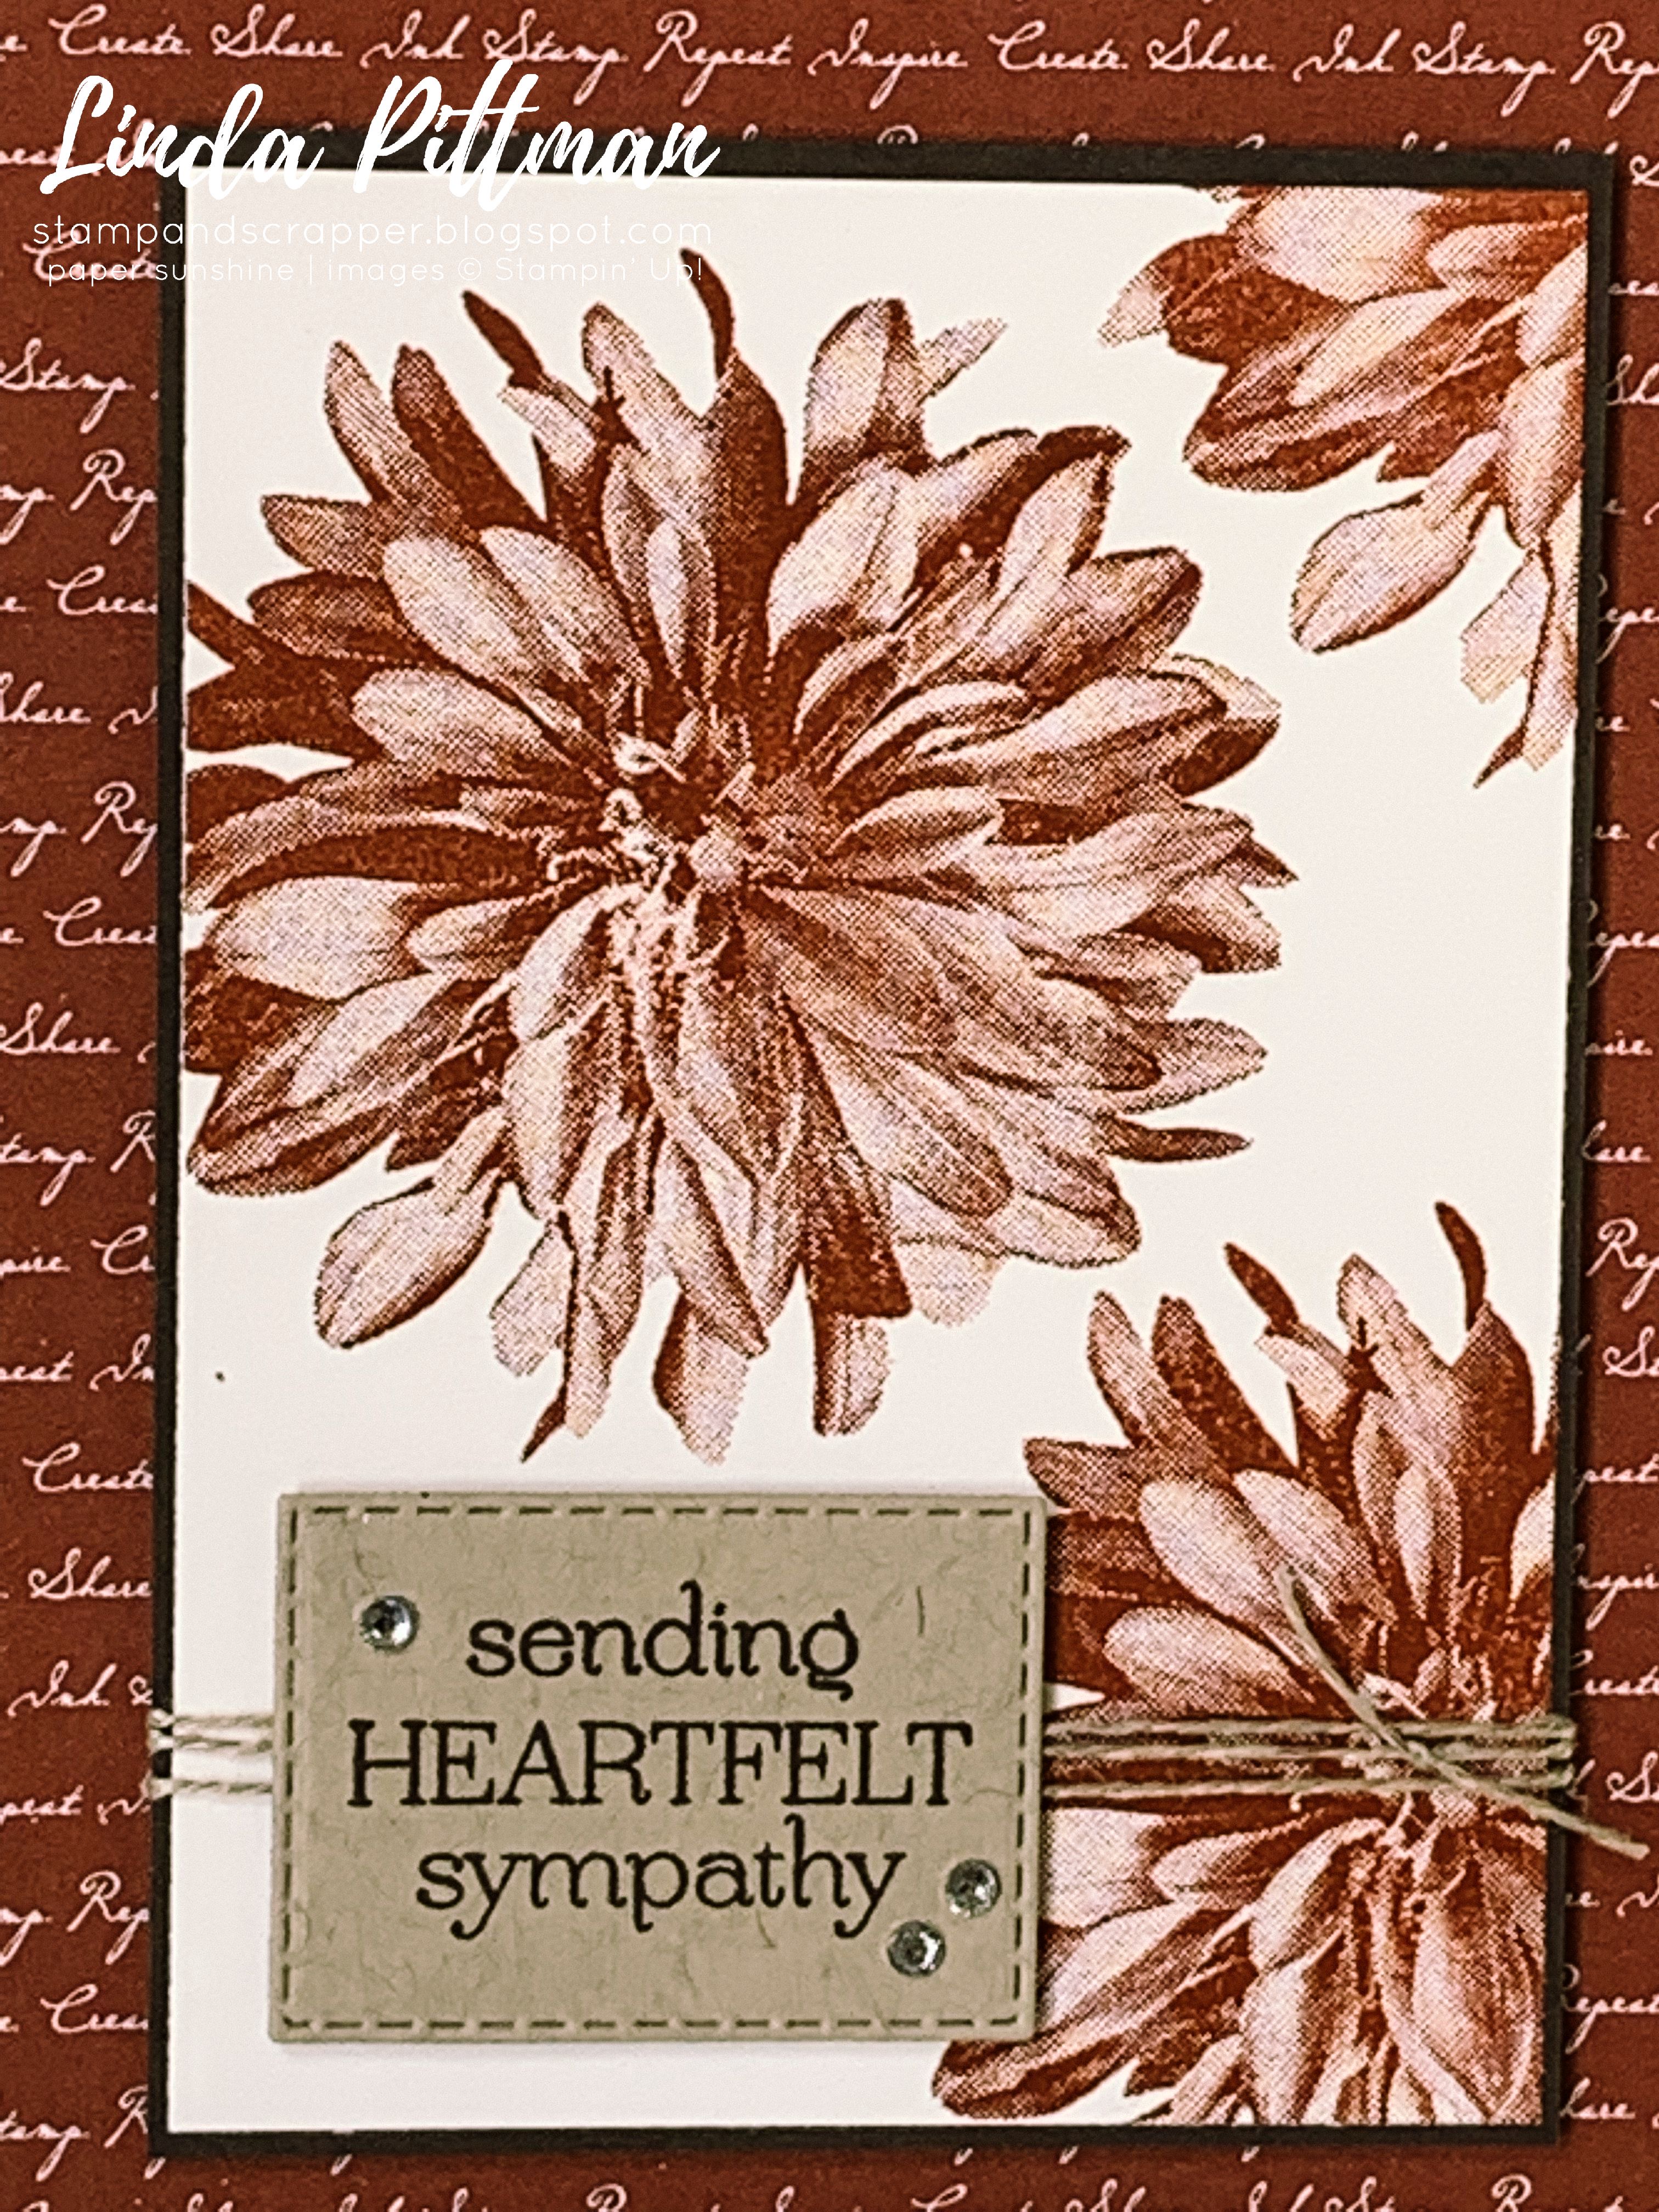
I love the sentiments included with this stamp set, too! It includes the sympathy sentiment I used on this card, a thank you, happy for you, and a you inspire me!
HOW I MADE IT:
1. Use Early Espresso ink to stamp signature stamp on back of card base.
2. Stamp portion of flower on lower right corner of inside panel using Cajun Craze ink.
3. Adhere inside panels together; adhere to inside of card base.
4. Adhere patterned paper to front of card base.
5. Use Cajun Craze ink to stamp flowers on Very Vanilla panel (see sample for placement).
6. Adhere stamped panel to Early Espresso panel. Wrap Linen Thread around panel and tie knot.
7. Attach panel to front of card base using dimensionals.
8. Stamp sentiment using Early Espresso ink on scrap of Crumb Cake cardstock. Cut out using die and SU Die Cut machine.
9. Attach sentiment to front of card base using dimensionals.
10. Add rhinestones (see sample for placement).

This is the inside of the card. And there you have it—a very classy card with not too much work! The beauty of a dahlia stamp is that dahlias can be so many different colors! So use your imagination and make cards with all your favorite colors!

I hope you are having a fabulous day—one that includes stamping a card for someone special! Thanks for stopping by today!
Happy stamping,
Linda