Friday, November 5, 2010

Another Birthday Card and September Play Day Project

I'm back once again!  Like I told you yesterday, I have really been busy creating, I just need some time to photograph and post these to my blog!

Here is the birthday card I made for my daughter.  It is a DOUBLE SLIDER CARD, and I followed a tutorial by LeeAnn Greff at http://flowerbug.typepad.com/my_weblog/2010/07/double-slider-card-with-tutorial.html.  It has a strip of plastic grocery bag or ziplock bag in it to make the slider work!  Pretty cool!


This is what the card looks like closed, and below is the card with the sliders pulled out (you just pull on the white ribbon):

SEE NEXT POST TO CONTINUE . . .

Birthday Card and A September Play Day Project, Continued . . .

OK, I pressed the wrong button and got the first part of this post published.  I can't seem to get back to it to add to it, so I will just post a second part!!!  Here is the picture of the double slider birthday card open:


My recipe for the Double Slider Birthday Card is:

STAMPS:  Long Fellows, Teeny Tiny Wishes, Define Your Life, Defining Alphabet

CARDSTOCK:  Baja Breeze 5-1/2 x 8-1/2, score at 1/2, 3-1/4 and 6, Pear Pizzazz 2-1/2 x 5-1/4, Greenhouse Gala DS Paper, 2-3/8 x 5-1/8, Whisper White 2-1/2 x 3, Peach Parfait, 1-5/8 x 2-1/8, Baja Breeze 2-1/2 x 4 (2 pieces), Plastic Bag strip 1 x 11, Scrap:  Peach Parfait

INK:  Baja Breeze, Pear Pizzazz, Basic Black

ACCESSORIES:  Corner Rounder Punch, Crop-a-dile, Jumbo Eyelets, 3/8 Whisper White Taffeta Ribbon, SAMJ, Scallop Rectangle Clearlit, Big Shot, Dimensionals

I thought that the Long Fellows animals were perfect for this card (or "purrfect" as the case may be)!  See my previous post from today for the link to the tutorial for LeeAnn Greff's Double Slider card.

SEPTEMBER PLAY DAY PROJECT:

The last project we made at September Play Day is a card made with LOVELY AS A TREE stamp set:


My recipe:

STAMPS:  Lovely As A Tree, Hugs and Wishes

CARDSTOCK:  Old Olive 5-1/2 x 8-1/2, score at 4-1/4, Chocolate Chip 3-7/8 x 5-1/8, Very Vanilla 3-3/4 x 5

INK:  Old Olive, Chocolate Chip (also Old Olive and Chocolate Chip markers)

ACCESSORIES:  Scallop Frame Oval Die, Big Shot, Sponge

This is a nice flat card that will mail easily!

Thanks for looking!

Happy stampin and scrappin,
Linda

Wednesday, November 3, 2010

A Birthday Card and A September Play Day Project!

I know I have been MIA, no real reason, except the usual busy days.  I have been making a lot of cards, and will try to bring you up-to-date a bit. 

The first project I'm sharing is a birthday card I'm sending to my daughter and my Mother.  My Mother and my daughter have birthdays back-to-back, and both share a great love for tea, so using Morning Cup stamp set was a natural choice for their card!  I had actually made a card for my daughter already, so I guess she will get two cards this year!

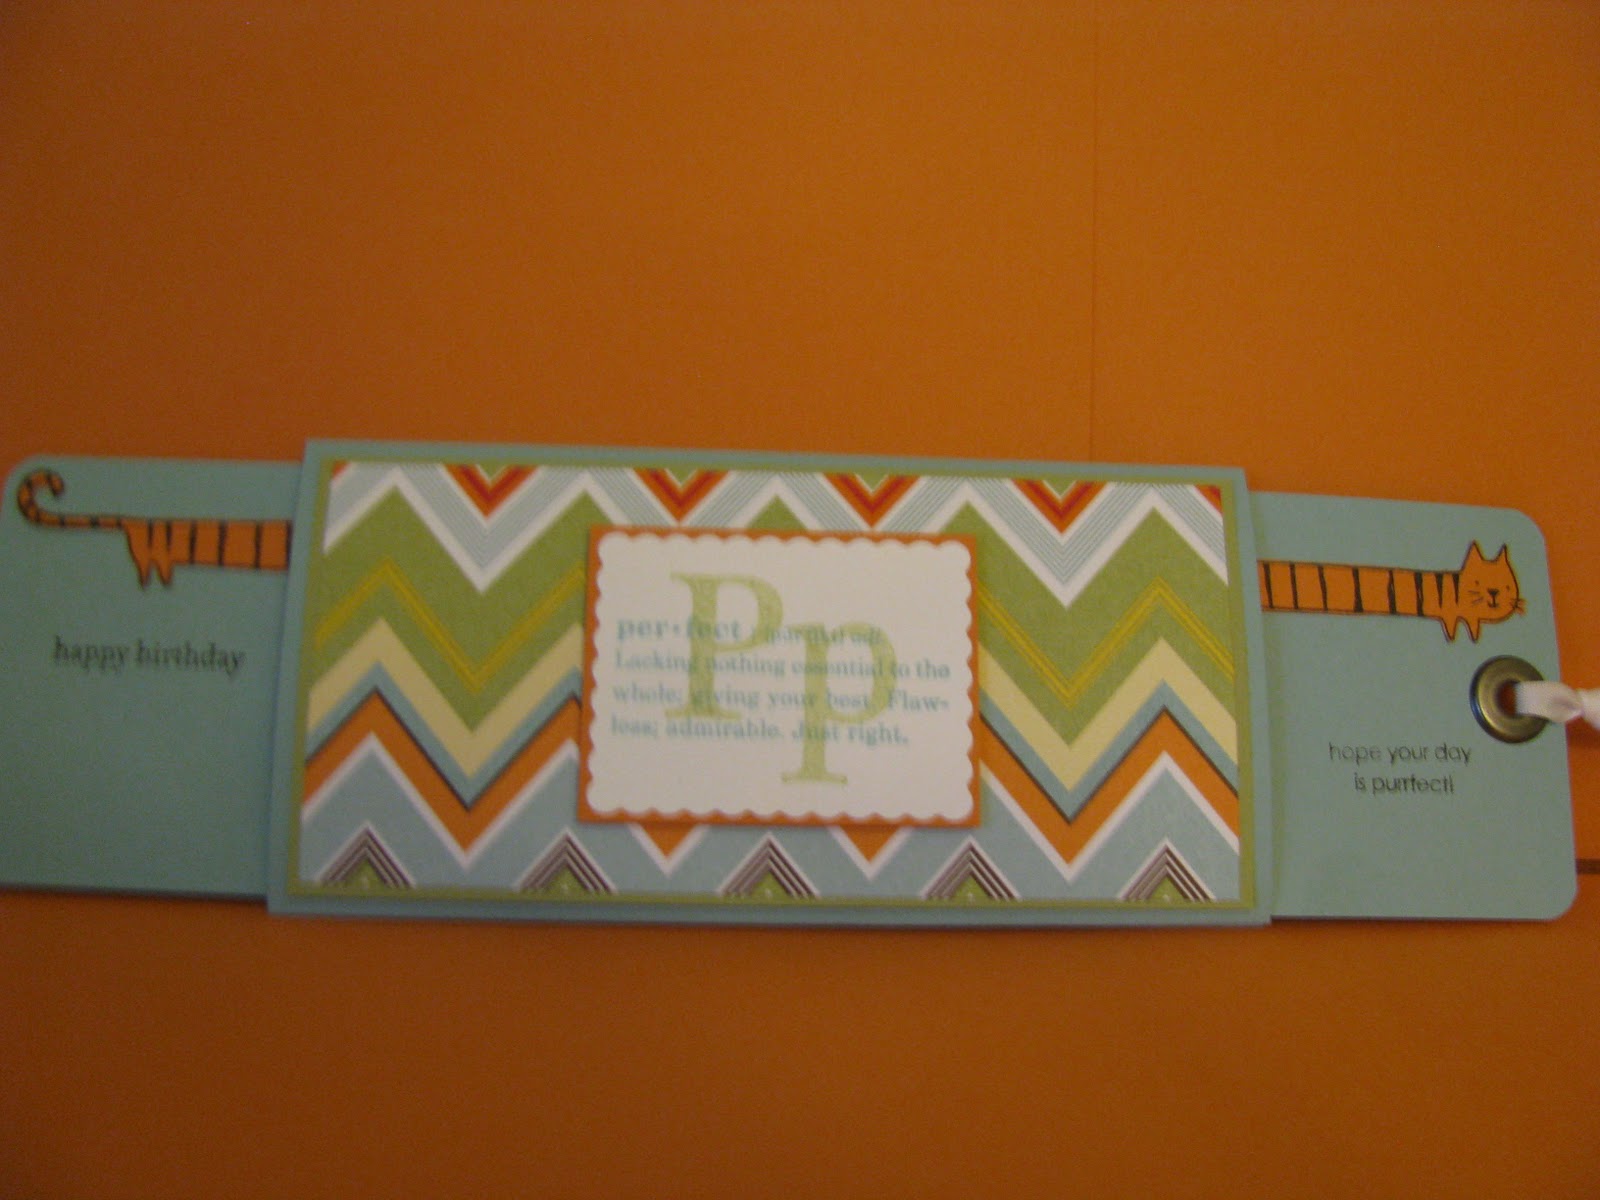
Here is a picture of my card:


The card has a little pocket on the front, just the perfect size for a tea bag.  The little tag on the front says "tea"riffic, so on the inside, I wrote "have a 'tea'riffic birthday". 

My recipe:
Stamps:  Morning Cup
Cardstock:  Daffodil Delight 4-1/4 x 11, scored at 5-1/2; Pumpkin Pie, 3-3/4 x 5-1/2; Whisper White, 3-5/8 x 4-7/8; Greenhouse Gala DS Paper, 3-1/2 x 4-3/4; Daffodil Delight, 3-1/2 x 6-1/2, score at 3-1/4 and again at 1/4 on both of the long sides (makes the pocket on the front); Watercolor Paper, 1-3/8 x 1-7/8; Scrap Pumpkin Pie
Ink:  Black Stazon, Pumpkin Pie, Daffodil Delight, Sahara Sand, Basic Black, Pumpkin Pie marker
Accessories:  Scallop Rectangle Clearlit, Big Shot, Scallop Trim Border Punch, Jewelry Tag Punch, 3/4 Circle Punch, Paper Piercer, Mat Pack, Dimensionals, 3/8" Whisper White Taffeta ribbon, Pumpkin Pie brads, Aquapainter, White DMC thread (non-SU), tea bag (non-SU)

This card is a CASE of a BEAUTIFUL card by fellow SU demo Carrie Gaskin.  Her card can be seen at http://artisticavenger.wordpress.com/2010/10/08/teariffic/.  I love all of her beautiful cards!

My second card for this post is one we made for Play Day in September.  I really LOVE this card; it is beautiful, but a fast card to make (the very best kind)!


My recipe:
STAMPS:  Christmas Collage, Bells and Boughs
CARDSTOCK:  Old Olive 4-1/4 x 11, score at 5-1/2, Cherry Cobbler 4 x 5-1/4, Very Vanilla 3-7/8 x 5-1/8, Scrap Very Vanilla
INK:  Crumb Cake, Old Olive, Cherry Cobbler, Crumb Cake marker
ACCESSORIES:  Cherry Cobbler Seam Binding Ribbon, Brayer, Sponge, Sponge Dauber, Dimensionals, 1-3/4 Circle Punch, Color Spritzer tool

We inked up the Christmas Collage Stamp in Crumb Cake using a brayer, then used a sponge dauber to apply Old Olive Ink to the area around the "25", then stamped it onto the Very Vanilla cardstock.  Very fast way to make a two color image from one stamp!  I also used the "Merry Christmas" stamp from Bells and Boughs to fill in the blank rectangle at the right of the stamp.  We sponged it with Crumb Cake ink and used the color spritzer tool to splash a bit of Crumb Cake on the image.

I also provided an option to put the Christmas bells from the Bells and Boughs stamp set instead of the "25" on the card.  Here is what that card looked like:


This card is also a CASE of fellow SU demo Robin Merriman.  Her card can be found at http://trinitydesignstudio.blogspot.com.  I used her idea of brayering the ink and then using a sponge dauber to make the Crumb Cake/Old Olive work so beautifully! 

It is always OK to CASE (copy and share everything) cards from other cardmakers, but be sure to give them credit!  (Just don't use someone's work to enter contests or for publication.)

Thank you for visiting my blog, and hopefully my next post will be soon!

Happy stampin and scrappin,
Linda

Sunday, September 5, 2010

September Play Day Projects, Part One!

Don't fall over or anything, but I am posting two of our September Play Day Projects today, the day after Play Day!  We made four Christmas cards at September Play Day, and here are the first two.

PROJECT ONE:


This card uses the wax resist technique for the red background.  I followed the instructions I found on Karen Graff-Poris' blog.  We ran wax paper through the Big Shot in the Petals-a-Plenty Embossing Folder, placed glossy white cardstock (with the glossy white side touching the wax paper) on either side of the embossed wax paper, then ironed it with a dry iron for approximately ten seconds.  Then we inked up a brayer with Riding Hood Red ink and added the color to the glossy cardstock.  It is an easy technique and can be used with any embossing folder.

My recipe for this card:
STAMPS:  Delightful Decorations and Season of Joy
CARDSTOCK:
     Always Artichoke:  4-1/4 x 11, scored at 5-1/2
     Riding Hood Red:  3-7/8 x 3-7/8
     Glossy White:  3-3/4 x 3-3/4
     Whisper White:  1-1/4 x 4-1/4
     Scrap Whisper White, Wax Paper
INK:  Riding Hood Red, Always Artichoke, Early Espresso
ACCESSORIES:  Linen Thread, Dimensionals, Ornament Punch, Eyelet Border Punch, 1/16 Circle Punch, Crimper, Brayer, Petals-a-Plenty Embossing Folder, Big Shot, Iron

PROJECT TWO:


This card uses one of my favorite techniques.  We inked up our brayer with Baja Breeze ink and colored the larger side of the Northern Flurries Embossing Folder with the ink.  Whisper White cardstock was placed on the embossing folder and run through the Big Shot, and when you remove the cardstock, this is the result! 

Here is the recipe for Project Two:

STAMPS:  Perfect Punches
CARDSTOCK: 
     Whisper White:  4-1/4 x 11, score at 5-1/2
     Baja Breeze:  4 x 5-1/4
     Whisper White:  3-7/8 x 5-1/8
     Scrap Whisper White
INK:  Baja Breeze, Versamark
ACCESSORIES:  Brayer, 1-1/4 Circle Punch, Scallop Circle Punch, Northern Flurries Embossing Folder, Basic Pearl Jewels, 3/8" Whisper White Taffeta Ribbon, Dimensionals, Heat Tool, Irridescent Ice Embossing Powder


I took this picture to try to show the little pearls better; I placed one of the little pearls in the middle of each snowflake.  The "Joy at Christmas" is stamped twice, and middle of the stamped image was punched out with a 1-1/4 circle punch and heat embossed with irridescent ice embossing powder.  This card is beautiful, but is a quick card to put together.

Thanks for looking!

Happy stampin and scrappin!
Linda

Wednesday, September 1, 2010

July Play Day Cards

Yes, I am behind (seems like that is the story of my blog . . . ), but I am working on catching up, so we will see how that goes!  Here are two cards that we made at our July Play Day.  I really like both of them!

PROJECT ONE:


This was my first card project using the new colors, and I was really pleased with the way it turned out!  Here is my recipe:

STAMPS:  Friends Never Fade, Season of Joy
CARDSTOCK: 
     Scrap Whisper White (trim to approximately 1-5/8 x 5-5/16 after stamping image)
     Chocolate Chip:  1-3/4 x 2-7/16
     Pear Pizzazz:  4-1/4 x 11 (score at 5-1/2)
     Pear Pizzazz:  3-3/4 x 4-1/4
     Chocolate Chip:  3-7/8 x 4-3/8
INK:  Chocolate Chip, Cajun Craze, Crumb Cake, Pear Pizzazz
ACCESSORIES:  Mini Library Clip, Linen Thread, Dimensionals, Sponge, Sponge Dauber, Vintage Wallpaper Embossing Folder, Scallop Edge Punch, Itty Bitty Shapes Punch Pack, Metallic Brads, Hole Punch (non-SU), Paper Piercer, Mat Pack

This card is very similar to the one I posted in my last post, but I finished the bottom differently.  For my swap cards, I didn't really want to punch all of the little pieces, and didn't have enough brads to do all of them, since my brad supply is short because of buying new ones for the color renovation! 

PROJECT TWO:


This was a fun card, and was inspired by many cards that I saw on the internet that were very similar.  The cards I marked and followed most closely were made by Robin Merriman and Dianne Jacobs Cartwright on Stampin Connection (web page for SU Demos).  Thank you for your inspiration, ladies!

My recipe for this card:

STAMPS:  Tropical Party and Teeny Tiny Wishes
CARDSTOCK:
     Old Olive:  5-1/2 x 8-1/2, scored at 4-1/4
     Soft Suede:  3-7/8 x 5-1/8
     Crumb Cake:  3-3/4 x 5
     Very Vanilla:  2-1/4 x 3
     Soft Suede:  2-3/8 x 3-1/8
     Scraps:  Very Vanilla and Soft Suede
INK:  Soft Suede, Old Olive, also Soft Suede and Old Olive Markers
ACCESSORIES:  Square Lattice Embossing Folder, Big Shot, Color Spritzer Tool, Sponge, Hemp Twine, Word Window Punch, Modern Label Punch, Paper Piercer, Mat Pack, Metallic Brads, Dimensionals

I am saving this card for my nephew's birthday this month (September).  He and his wife are taking a late honeymoon to Hawaii, so I thought it would be a good card for him.  I also thought that this would be a great retirement card, especially for a masculine retirement. 

Thanks for looking!

Happy stampin and scrappin,
Linda