Showing posts with label Friendship Card. Show all posts

Monday, October 4, 2021

FEELS LIKE HOME FOR CARD BUFFET!

 Hi, Friends,

I sat down to work on this blog post and had a sweet kitten named Zoe crawl up and lay beside me.  The girls have been playing hard all morning and I figured it was about time that they crashed for a nap!  They have LOTS of energy—I kind of wish they could loan me some!  


I want to share a card with you today that I had on the card buffet at the Blessings Crop/Angel Tree Crop a week ago.  I kind of wondered what to do with this set (Feels Like Home) that was on the Sale-a-Bration this fall, and was surprised at how easy this card is, and also that the Christmas DSP, Tidings of Christmas, would make such a good match with it!  This card was inspired by one designed by Libby Fens, libbystamps.com, post dated September 11, 2021.   Here is a picture of my card:


MY RECIPE:

     STAMPS:  Feels Like Home (SAB, Fall 2021)

     CARDSTOCK:
          Soft Succulent:  5-1/2 x 8-1/2, scored at 4-1/4
          Evening Evergreen:  4 x 5-1/4
          Tidings of Christmas DSP:  1-1/2 x 5-1/8
               SCRAPS:  Crumb Cake, Basic White
               INSIDE:
                    Evening Evergreen:  3-3/4 x 5
                    Basic White:  3-5/8 x 4-7/8

     INK:  Evening Evergreen

     ACCESSORIES:  Stitched So Sweetly Dies, Layering Ovals Dies (Retired), SU Die Cut Machine, Fine Art Ribbon, Rhinestones, Dimensionals
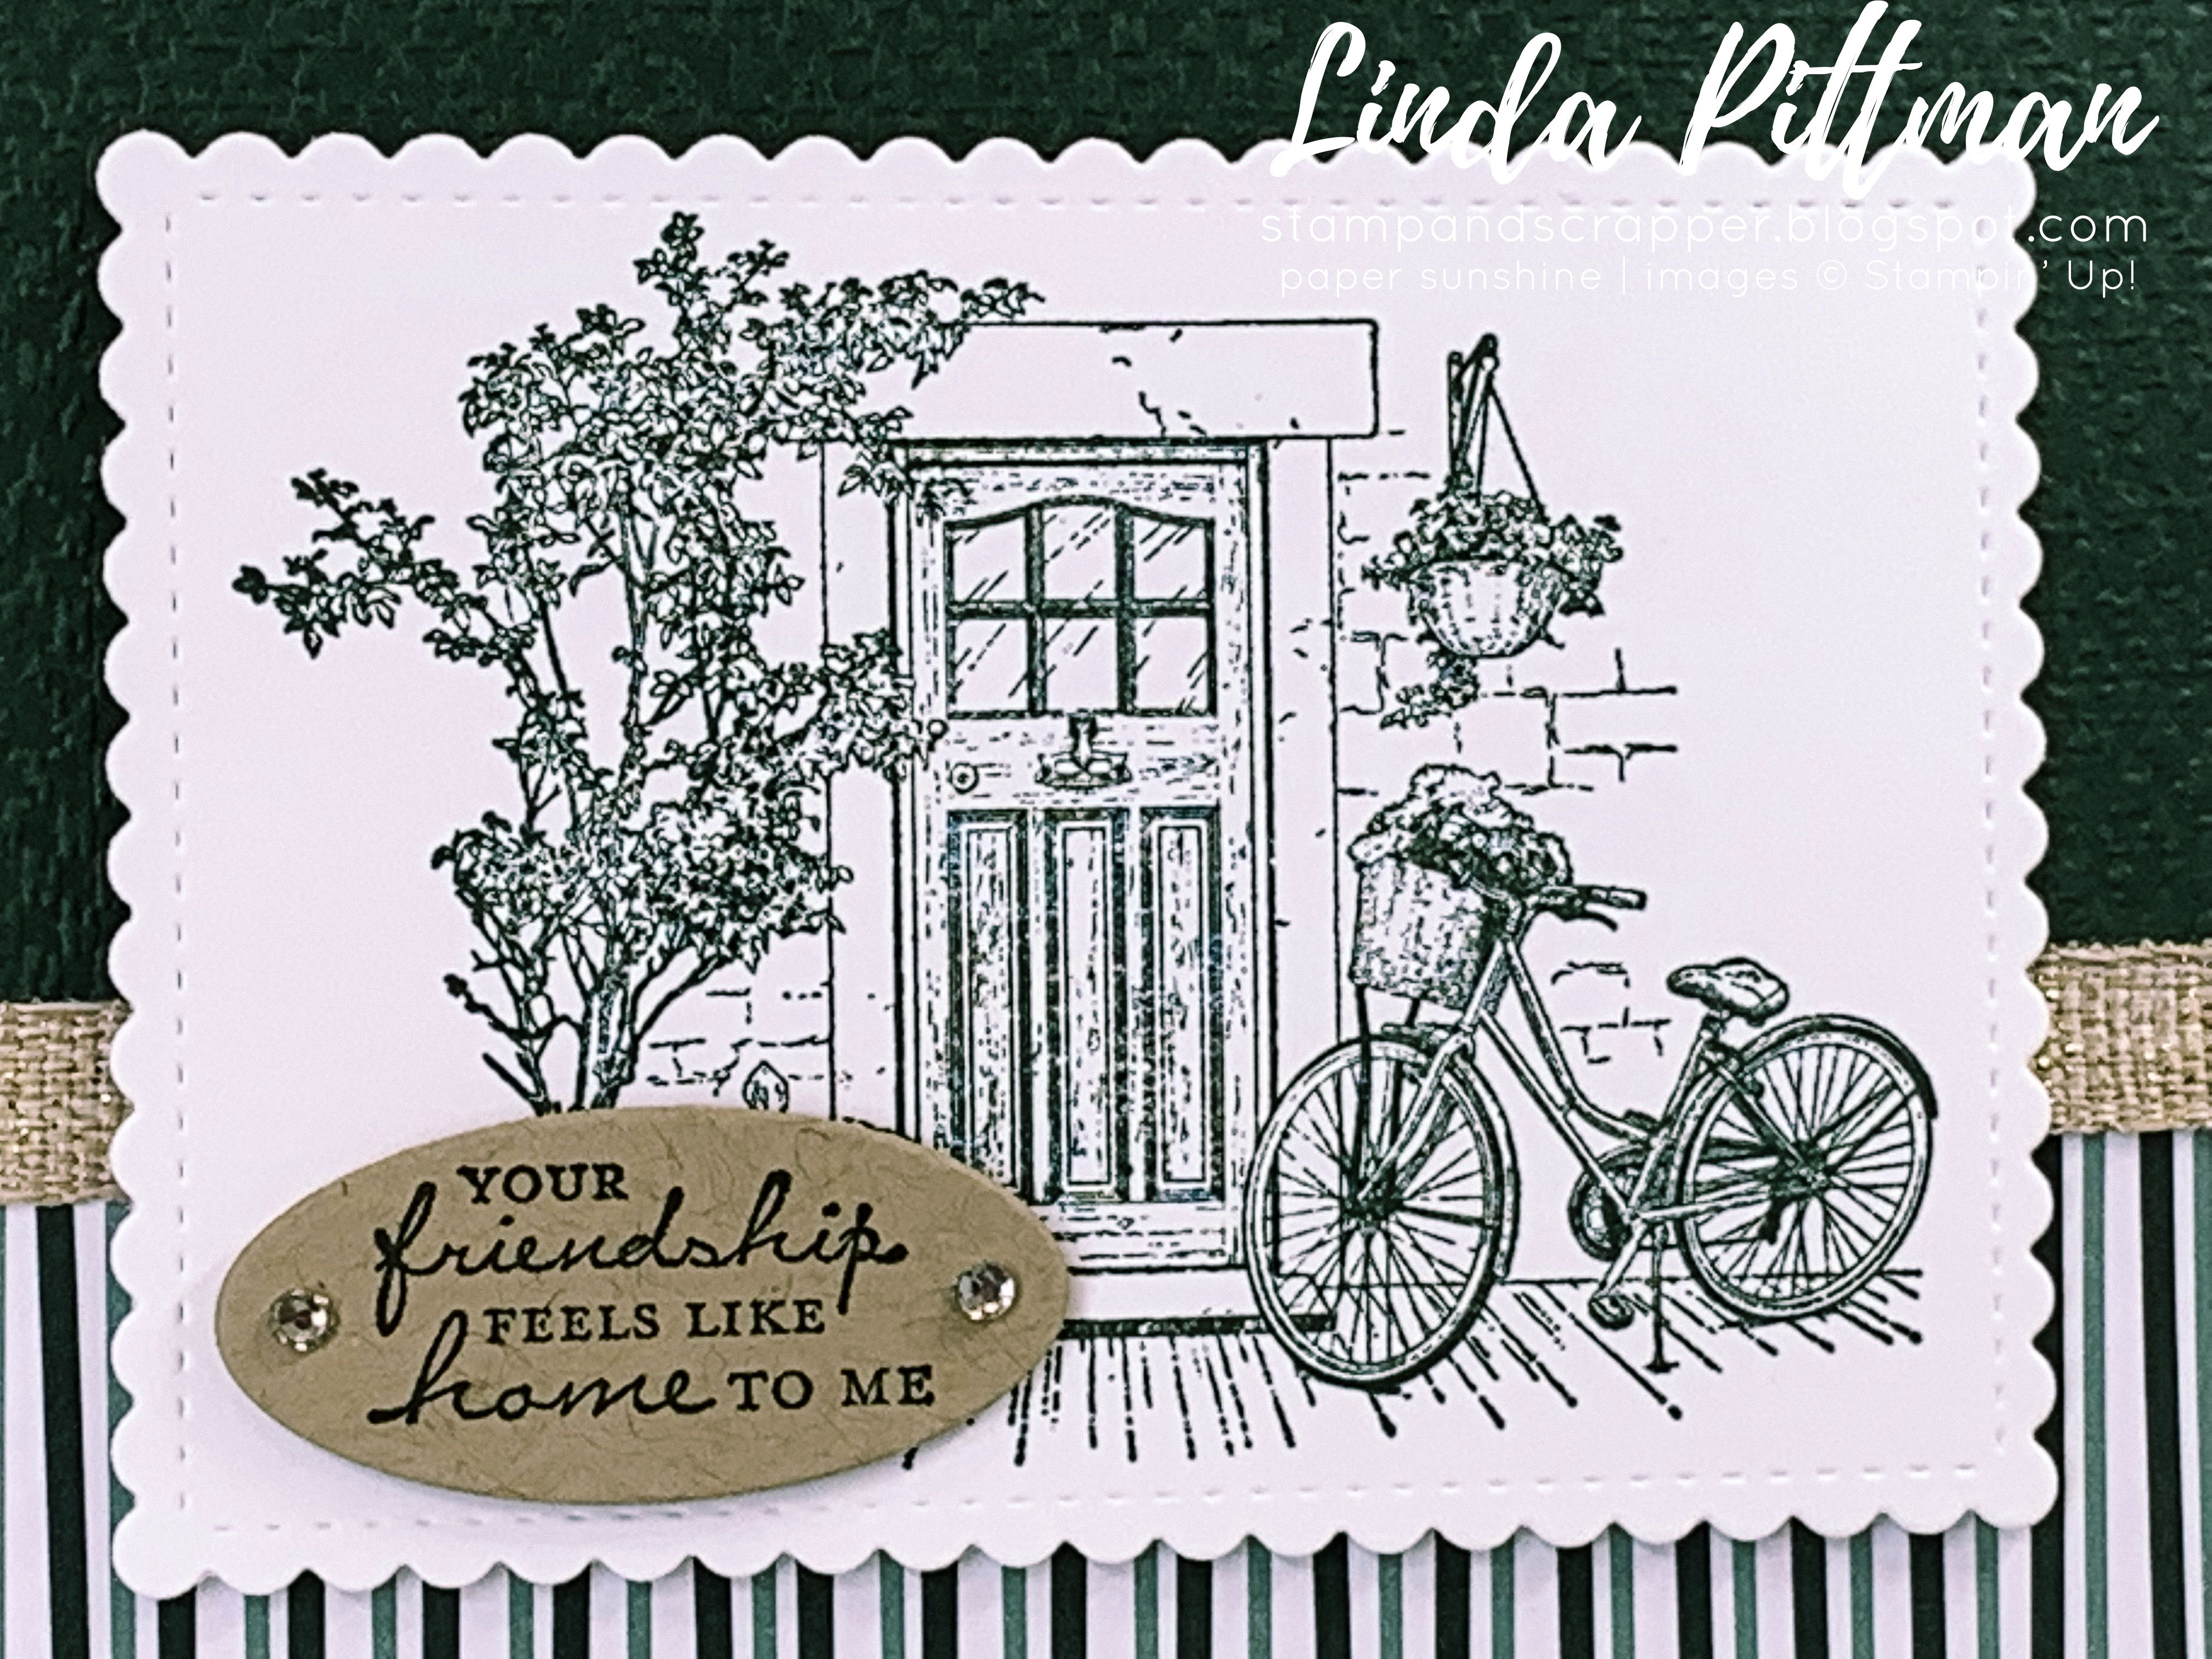

I love how detailed this stamp is, but really don’t want to color all the details in, so it was a good one to just stamp and leave it alone!

HOW I MADE IT:

1.  Use Evening Evergreen ink to stamp signature stamp on back of card base.

2.  Stamp flower pot image on lower right corner of inside panel using Evening Evergreen ink.

3.  Adhere inside panels together; adhere to inside of card base.

4.  Adhere striped DSP to bottom of embossed Evening Evergreen panel.

5.  Adhere ribbon to seam of above panel.  Adhere ends of ribbon to back of panel.

6.  Adhere panel to front of card base.

7.  Use Evening Evergreen ink to stamp door image on scrap of Basic White cardstock.  Cut out using die cut and SU Die Cut Machine.

8.  Attach focal image to front of card base using dimensionals.

9.  Stamp sentiment using Evening Evergreen ink on scrap of Crumb Cake cardstock.  Cut out using die and SU Die Cut Machine.

10.  Attach sentiment to front of card base using dimensionals.

11.  Add rhinestones (see sample for placement).


I simply stamped the little pot of flowers on the inside of the card.  It adds just the perfect touch!


Well, Zoe is now sound asleep on the couch by my feet!  Chloe is trying to catch flies that are on the outside of the window, so don’t think she will be napping anytime soon!  

I hope you enjoyed this project!  I hope to share more projects tomorrow!

Thanks for stopping by!

Happy stamping,
 Linda


Monday, July 20, 2020

SO SENTIMENTAL CARD!

Hi, Friends!

Last week I received copies of the new August-December 2020 Mini Catalog and sent them out to you guys.  I sent a LOT of catalogs:


My bag was REALLY heavy!  I promised to post each of the four cards I mailed with the catalogs, so here is the first one:


This card uses the So Sentimental stamp set.  I liked the card because it was bright and cheery, and also because the sentiment fits so well--your friendships are a blessing to me!  I miss seeing you guys SO MUCH!  Here is a closer image of the sentiment.  It is stamped in the new in-color Misty Moonlight and cut out using the Stitched So Sweetly die, one of my favorites!


MY RECIPE:

STAMPS:  So Sentimental, Lovely You

CARDSTOCK:
     Misty Moonlight:  5-1/2 x 8-1/2, scored at 4-1/4
     Just Jade:  4 x 5-1/4
     Flowers for Every Season DSP:  3-7/8 x 3-7/8
     Flowers for Every Season DSP:  1-1/2 x 3-7/8
     SCRAPS:  Whisper White, Just Jade
     INSIDE:
          Just Jade:  3-3/4 x 5
          Whisper White:  3-5/8 x 4-7/8

INK:  Misty Moonlight

ACCESSORIES:  Christmas Cardinal Dies (leaves), Stitched So Sweetly Dies, Magnetic Platform, Big Shot, Magenta Madness Ribbon, Dimensionals, Glue Dots, Rhinestones

Here is the inside of the card.  I stamped the leaves from the stamp set Lovely You in Misty Moonlight.


HOW I MADE IT:

1.  Use scoreboard to score card base at 4-1/4; fold card base at scoreline and burnish with Bone Folder for a nice, crisp fold.

2.  Use Misty Moonlight ink to stamp signature stamp on back of card base.

3.  Stamp leaves on lower right corner of inside panel using Misty Moonlight ink.

4.  Adhere inside panels together; adhere to inside of card base.

5.  Adhere patterned paper to Just Jade cardstock.  Adhere Magenta Madness ribbon to seam.

6.  Use Misty Moonlight ink to stamp sentiment on scrap of Whisper White cardstock.  Cut out using Stitched So Sweetly die and Big Shot.

7.  Lay die cut sentiment on front of card base to determine placement of leaves.  Use glue dots to adhere leaves to front of card base.

8.  Attach sentiment panel to card front using dimensionals.

9.  Add rhinestones to sentiment panel; see sample for placement.

I hope you have enjoyed today's project!  I will be back soon to post a second card from the catalog mailings!

Happy stamping,
Linda